Author: Ren Rose

  • Seeded Crackers: A Wholesome, Crunchy Winter Snack for Cosy Grazing

    Seeded Crackers: A Wholesome, Crunchy Winter Snack for Cosy Grazing

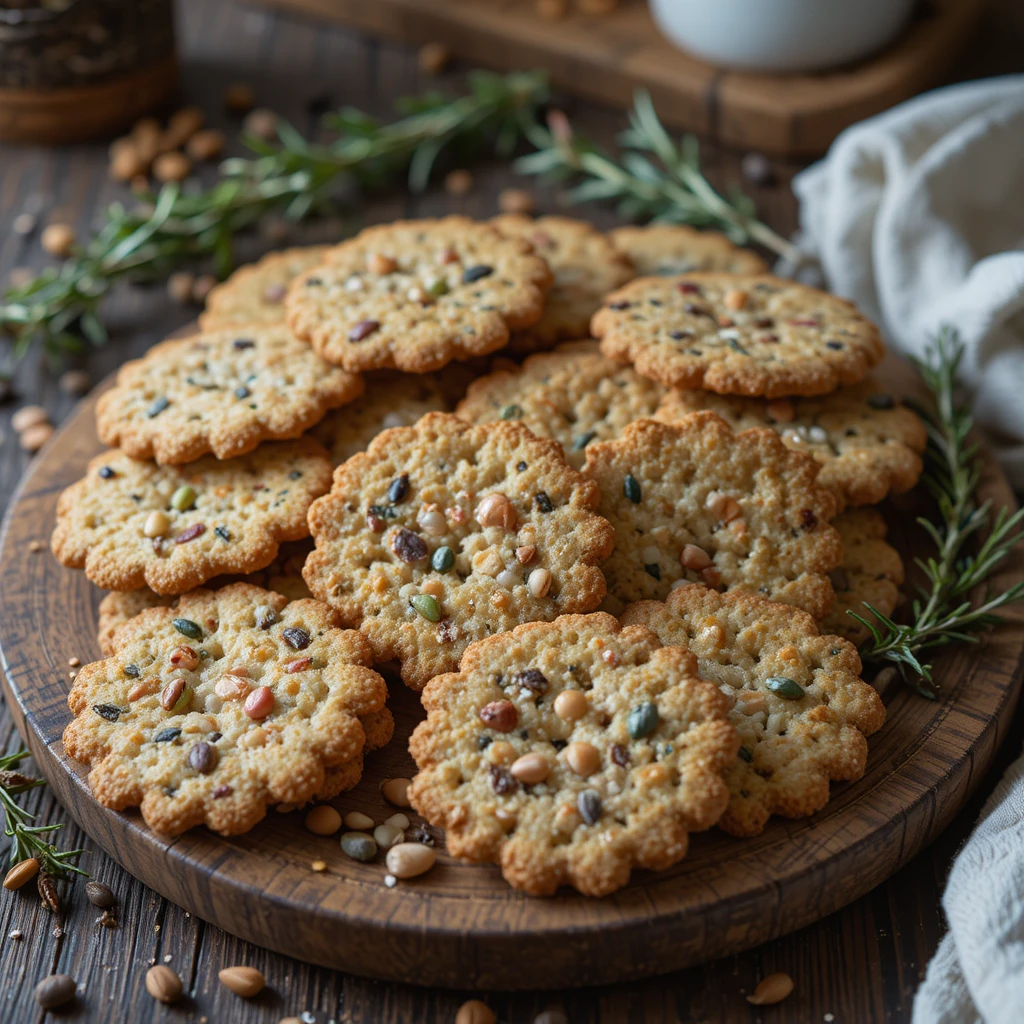
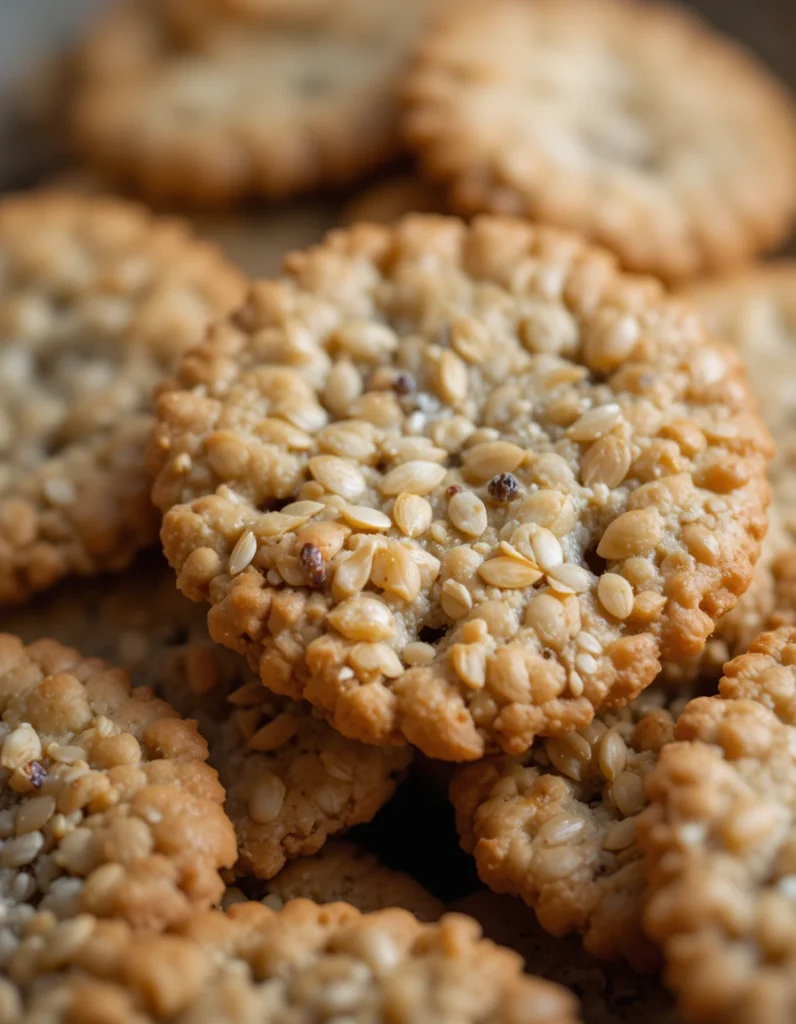
    Winter snacking often leans towards the comforting and familiar – slow evenings indoors, simple nibbles shared at the table, and food that feels both nourishing and satisfying. Seeded crackers are a perfect fit for this season: crisp, earthy, and full of texture, with a quiet heartiness that suits colder days.

    Whether served alongside soups, paired with cheese, or enjoyed as part of a winter grazing board, seeded crackers bring balance and warmth without feeling heavy. They’re the kind of snack you make once and reach for again and again throughout the week.

    Why Seeded Crackers Are Perfect for Winter

    Seeded crackers feel especially suited to winter because they are:

    • hearty and grounding
    • full of natural texture and flavour
    • satisfying without being rich
    • perfect with winter cheeses and dips
    • ideal for slow, cosy snacking

    They pair beautifully with the foods we naturally gravitate towards in winter – soups, stews, cheeses, and warm drinks close by.

    Ingredients (makes: 20–30 crackers – depending on size)

    • 120 g plain flour (or wholemeal for extra depth)
    • 50 g mixed seeds (sunflower, pumpkin, sesame, linseed)
    • ½ tsp salt
    • 2 tbsp olive oil
    • 80–100 ml water

    Optional additions:

    • cracked black pepper
    • dried rosemary or thyme
    • pinch of smoked paprika
    • grated Parmesan

    Recipe

    Step 1: Make the Dough

    Preheat your oven to 180°C (fan).
    In a bowl, mix the flour, seeds, salt, and any optional flavourings.
    Add the olive oil and enough water to bring everything together into a firm dough.

    Step 2: Roll Thinly

    Turn the dough out onto a lightly floured surface.
    Roll as thinly as possible – the thinner the dough, the crisper the crackers.
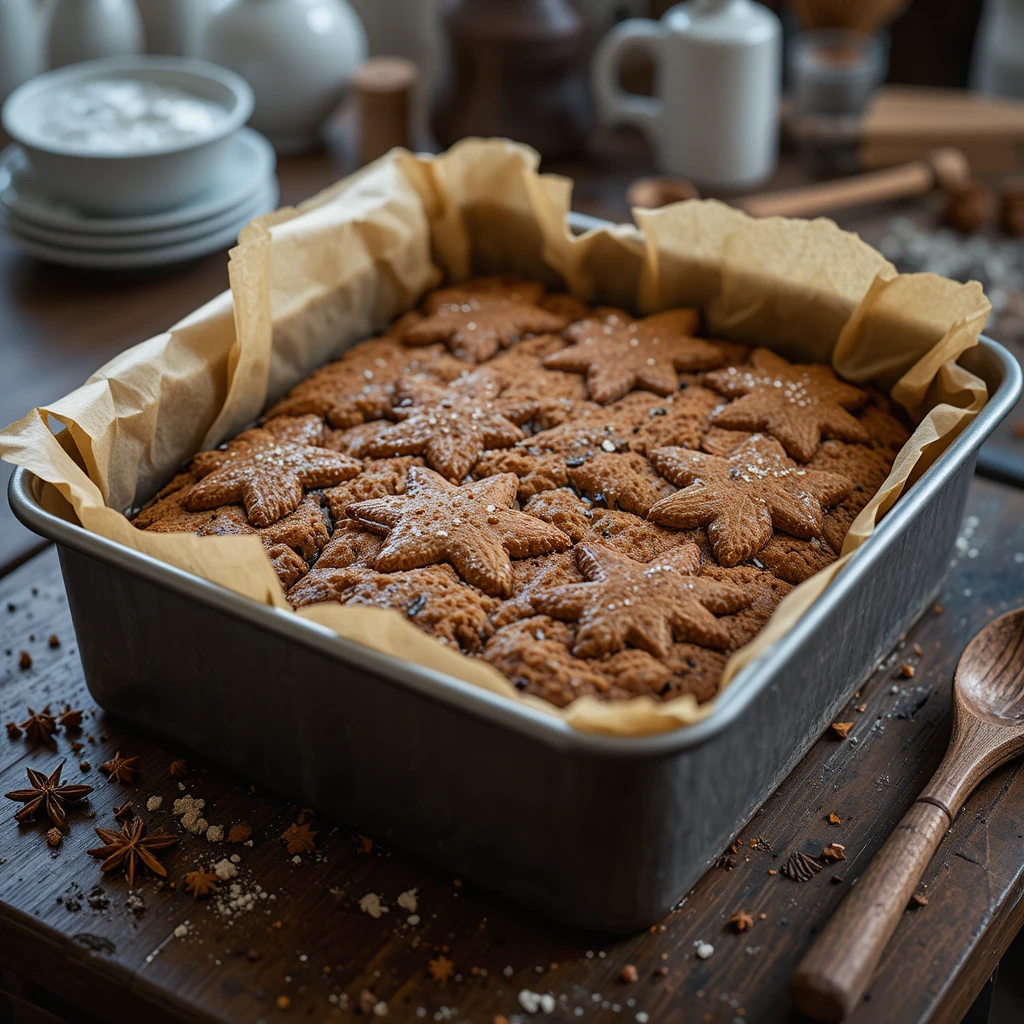
    Step 3: Cut & Bake

    Cut into squares or rustic shapes and place on a lined baking tray.
    Bake for 15–20 minutes, until lightly golden and crisp.
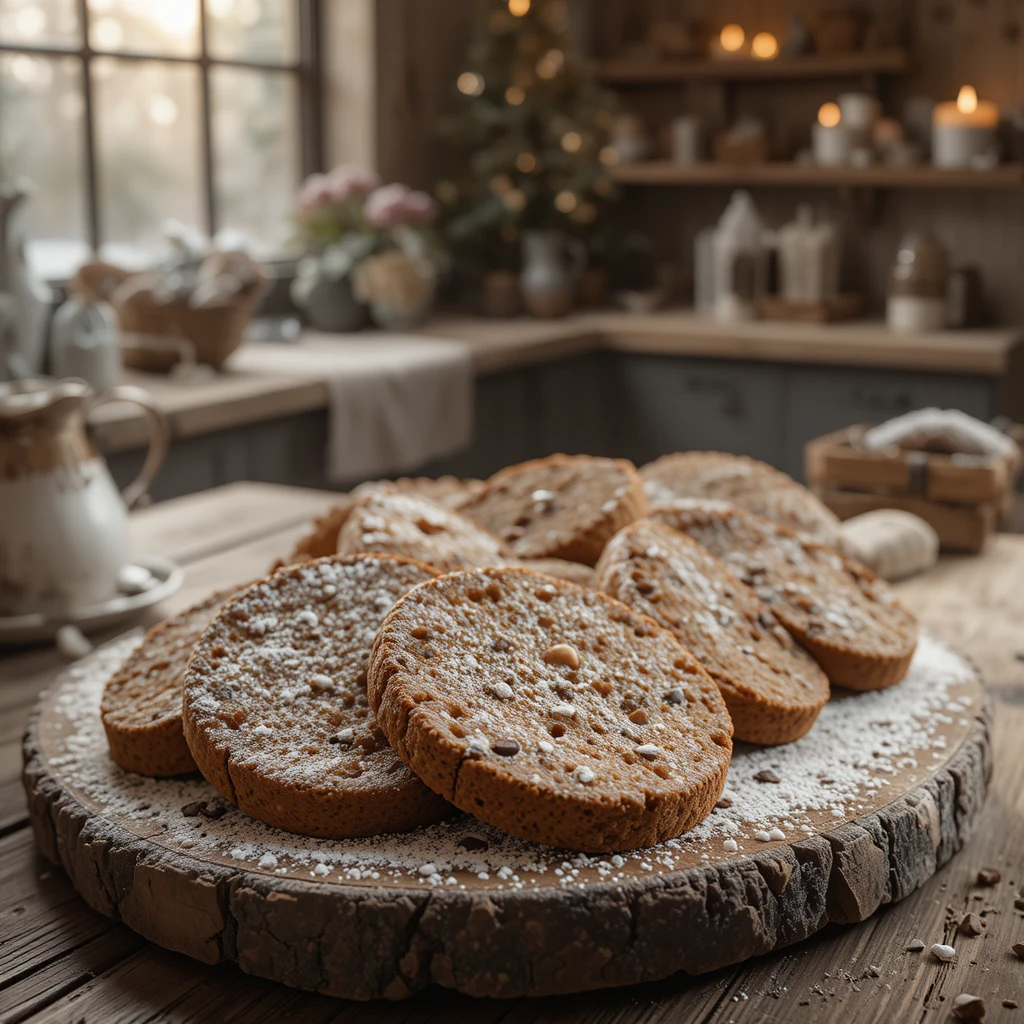
    Step 4: Cool

    Allow to cool completely on a rack – they’ll crisp up further as they cool.

    How to Enjoy Seeded Crackers

    These crackers are wonderfully versatile and suit so many winter moments:

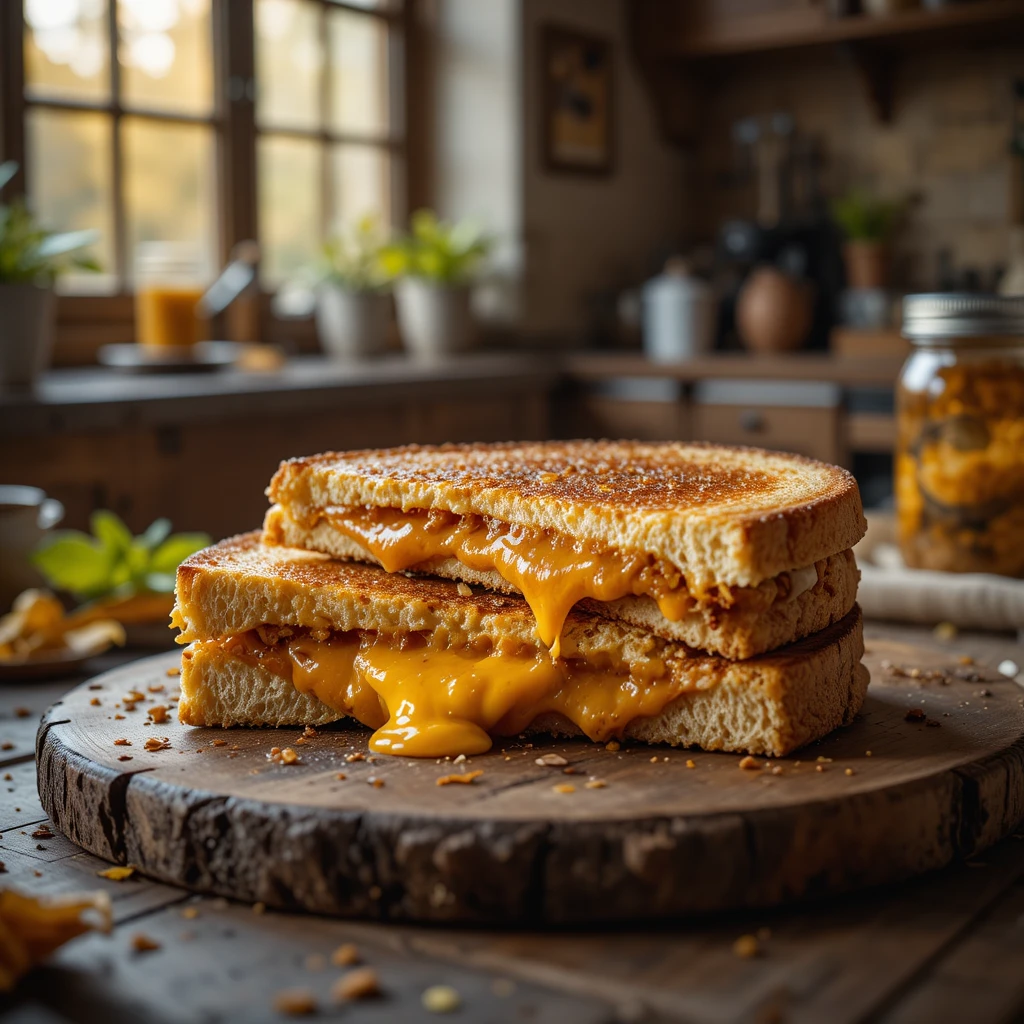
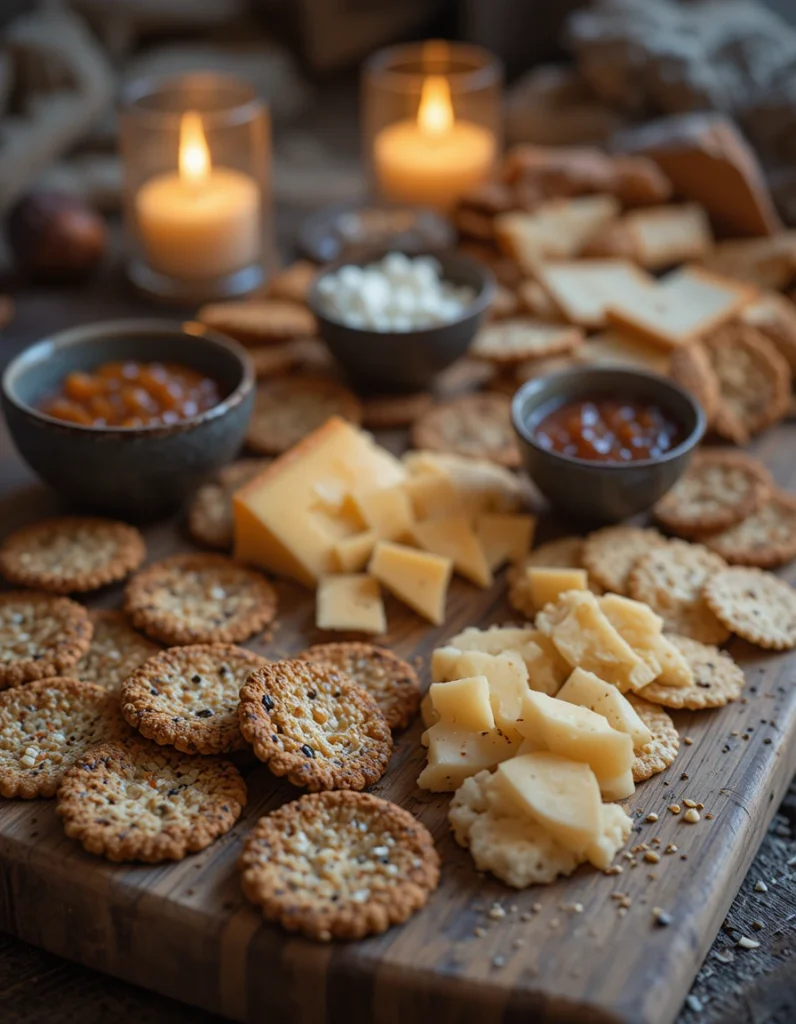
    • with cheese and chutney
    • alongside a bowl of soup
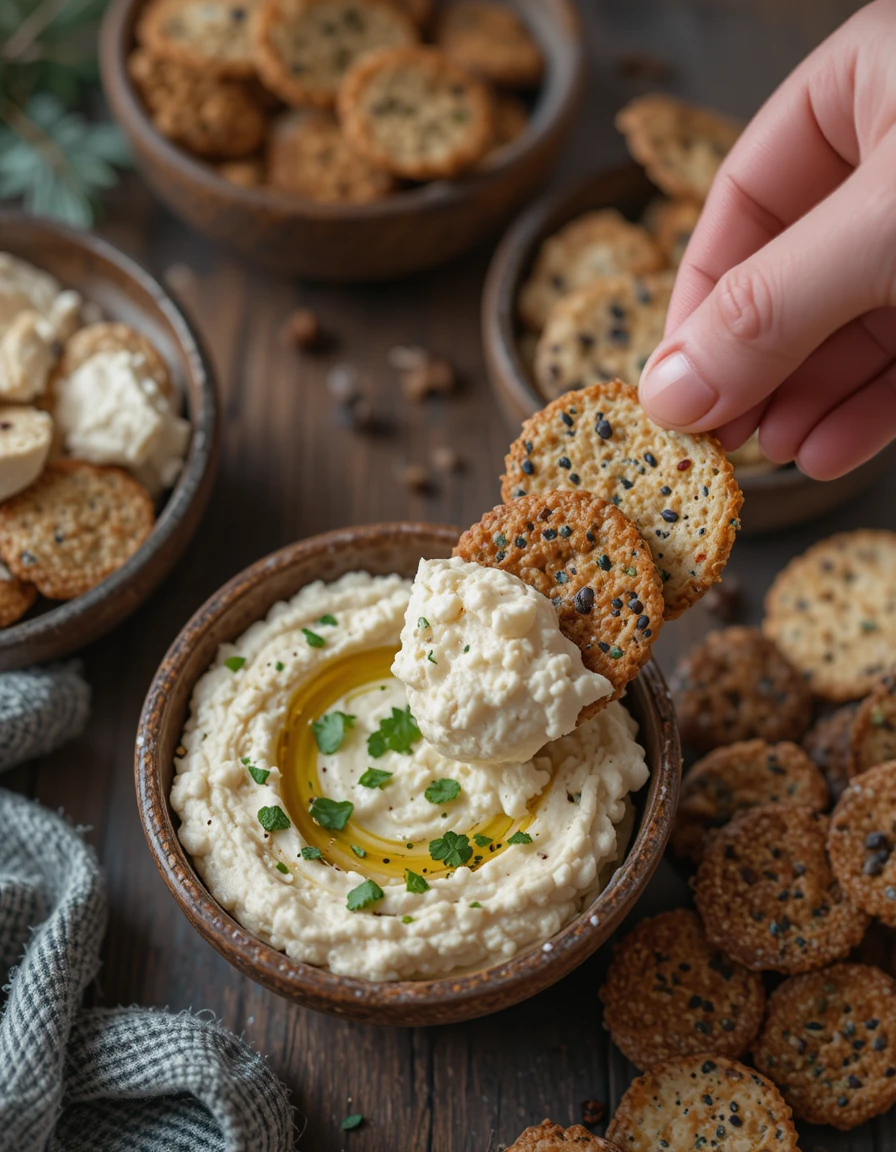
    • with hummus or whipped feta
    • as part of a winter grazing board
    • packed into lunchboxes
    • served with olives and roasted nuts

    They’re especially lovely paired with sharp cheddar, soft brie, or baked camembert.

    Winter Variations

    • Rosemary & Sea Salt: rustic and fragrant
    • Cheese Seed Crackers: richer and comforting
    • Pepper & Parmesan: savoury with depth
    • Spiced Crackers: add cumin or paprika
    • Extra Seeded: top with more seeds before baking

    Each variation keeps that cosy, winter-ready feel.

    Create a Cosy Winter Snacking Moment

    Seeded crackers are perfect for evenings when:

    • the house feels calm
    • candles are lit
    • soup simmers gently
    • a board of simple nibbles sits on the table
    • the pace of the day slows

    They’re snacks meant to be enjoyed slowly, between sips of something warm.

    Final Thoughts

    Seeded crackers are winter snacking at its simplest and most satisfying – crunchy, nourishing, and endlessly adaptable. They bring balance to richer winter foods and feel right at home on a candlelit table during the colder months.

    Bake a batch, break out the cheese, and enjoy the quiet comfort of winter grazing. 

  • Gingerbread: A Spiced Winter Snack for Cosy Days & Festive Evenings

    Gingerbread: A Spiced Winter Snack for Cosy Days & Festive Evenings

    There are few scents as instantly wintery as gingerbread baking in the oven. Warm spices drifting through the house, soft golden light outside, and the promise of something sweet and comforting waiting to be enjoyed – gingerbread is winter in edible form.

    Whether baked into soft squares, crisp biscuits, or gently spiced loaf slices, gingerbread is the kind of snack that feels made for cold days and long evenings. It’s rich, warming, and wonderfully nostalgic – a treat that turns an ordinary winter afternoon into something quietly special.

    Why Gingerbread Feels Perfect in Winter

    Gingerbread suits the colder months beautifully because it is:

    • warmly spiced and comforting
    • rich without being heavy
    • perfect with hot drinks
    • nostalgic and familiar
    • ideal for sharing and gifting

    It’s a bake that feels as much about atmosphere as flavour – cosy kitchens, flickering candles, and slow moments at home.

    Ingredients (makes: 12–16 slices or squares)

    • 225 g plain flour
    • 1 tsp bicarbonate of soda
    • 1 tsp ground ginger
    • 1 tsp ground cinnamon
    • ½ tsp ground nutmeg
    • 100 g butter
    • 100 g dark brown sugar
    • 150 g golden syrup or treacle
    • 1 egg
    • 100 ml milk

    Recipe

    Step 1: Preheat & Prepare

    Preheat your oven to 180°C (fan) and line a square tin or loaf tin with parchment paper.

    Step 2: Mix the Dry Ingredients

    In a bowl, sift together the flour, bicarbonate of soda, ginger, cinnamon, and nutmeg.

    Step 3: Melt & Combine

    In a saucepan, gently melt the butter, sugar, and syrup together.
    Allow to cool slightly, then stir in the egg and milk.

    Step 4: Bring Together

    Pour the wet ingredients into the dry and mix gently until smooth.

    Step 5: Bake

    Pour into the tin and bake for 30–35 minutes, until a skewer comes out clean.

    Allow to cool slightly before slicing – it becomes even more tender as it settles.

    How to Enjoy Gingerbread in Winter

    Gingerbread is perfect enjoyed:

    • with a mug of tea, coffee, or hot chocolate
    • sliced and lightly buttered
    • as an afternoon snack by the fire
    • wrapped and gifted to friends
    • served warm with cream or custard
    • tucked into lunchboxes on cold days

    It’s one of those bakes that feels comforting any time of day.

    Winter Variations

    • Sticky Gingerbread: add chopped dates or extra treacle
    • Orange Gingerbread: add orange zest for brightness
    • Chocolate Gingerbread: stir in dark chocolate chunks
    • Festive Gingerbread: add cloves or allspice
    • Gingerbread Loaf: bake in a loaf tin for easy slicing

    Each version keeps that unmistakable winter warmth.

    Create a Cosy Winter Baking Moment

    Bake gingerbread when:

    • the house feels quiet
    • the windows glow with warm light
    • the kettle is always on
    • candles flicker in the kitchen
    • you want the home to smell like winter

    Sometimes the smell alone is reason enough.

    Final Thoughts

    Gingerbread is winter snacking at its most comforting – softly spiced, gently sweet, and filled with nostalgia. It brings warmth not just to the table, but to the whole home.

    Slice, serve, and enjoy the quiet joy of winter baking. 

  • Autumn Lunch: Cheese & Chutney Toastie

    Autumn Lunch: Cheese & Chutney Toastie

    A Golden, Comforting Bite for Crisp Days

    There’s something about autumn that makes simple lunches feel extra special. The air is cooler, the light softer, and suddenly warm, toasted sandwiches become the perfect midday comfort. A cheese and chutney toastie is one of those timeless autumn lunches – crisp on the outside, gloriously melted within, and filled with rich, savoury-sweet flavour.

    It’s unfussy, deeply satisfying, and exactly the kind of thing you want after a brisk walk or on a quiet afternoon at home.

    Why Cheese & Chutney Works So Beautifully in Autumn

    This pairing feels made for autumn because it combines:

    • the richness of melted cheese
    • the gentle sweetness and spice of chutney
    • the comfort of golden, buttery bread
    • flavours that feel warming and nostalgic

    It’s the perfect balance of savoury and sweet, with a depth that suits cooler days.

    Ingredients (serves: 1)

    • 2 slices of bread (sourdough, farmhouse loaf, or wholemeal work beautifully)
    • 40–50 g mature cheddar, grated or sliced
    • 1–2 tsp chutney (onion, apple, or tomato work well)
    • Butter, for spreading

    Optional additions:

    • sliced apple or pear
    • a little mustard
    • caramelised onions
    • a handful of rocket

    How to Make the Perfect Cheese & Chutney Toastie

    Step 1: Prepare the Bread

    Butter one side of each slice of bread.
    Turn them over and spread chutney on the unbuttered side of one slice.

    Step 2: Add the Cheese

    Layer the cheese over the chutney and top with the second slice of bread, buttered side facing out.

    Step 3: Toast Slowly

    Heat a frying pan over medium-low heat.
    Cook the toastie gently for 3–4 minutes per side, pressing lightly, until golden and crisp with melted cheese inside.

    Step 4: Serve

    Slice in half and enjoy immediately while warm and gooey.

    Autumn Variations

    To lean even more into seasonal flavours, try:

    • Cheese, Chutney & Apple: sweet crunch
    • Cheese & Spiced Tomato Chutney: warming depth
    • Cheese, Chutney & Caramelised Onion: rich and comforting
    • Cheese, Chutney & Mustard: gently sharp
    • Cheese & Pear Chutney: soft autumn sweetness

    Each keeps that cosy autumn feel while offering something slightly different.

    What to Serve With It

    A cheese & chutney toastie pairs beautifully with:

    • a bowl of tomato or vegetable soup
    • crisp autumn salad leaves
    • pickles or gherkins
    • a handful of crisps
    • warm cider or a cup of tea

    Perfect for lunch, a light supper, or a cosy afternoon snack.

    Create a Cosy Autumn Lunch Moment

    This is the kind of lunch best enjoyed:

    • with rain tapping softly at the window
    • in a quiet kitchen with the radio on low
    • served on a warm plate
    • eaten slowly, without rushing

    Sometimes the simplest lunches are the ones that feel the most comforting.

    Final Thoughts

    The cheese and chutney toastie is autumn comfort food at its finest – warm, familiar, and quietly satisfying. It’s proof that good flavour doesn’t need complexity, just thoughtful combinations and a little time in a hot pan.

    Golden bread, melted cheese, sweet chutney – a simple pleasure for crisp autumn days. 

  • Cheese & Herb Scones: A Cosy Winter Snack Fresh from the Oven

    Cheese & Herb Scones: A Cosy Winter Snack Fresh from the Oven

    There’s something wonderfully comforting about baking on a winter afternoon – the oven warming the kitchen, the scent of butter and cheese in the air, and the promise of something savoury to enjoy while it’s still warm. Cheese & herb scones are the perfect winter snack: soft and fluffy inside, lightly crisp on the outside, and full of rich, savoury flavour.

    They’re simple, unfussy, and deeply satisfying – ideal for slow weekends, afternoon tea with a twist, or a cosy snack enjoyed with soup, tea, or a crackling fire nearby.

    Why Cheese & Herb Scones Are Perfect for Winter

    Savoury baking feels especially right in winter, and these scones tick all the comforting boxes. They are:

    • warm and filling
    • rich with cheese and butter
    • gently fragrant with herbs
    • quick to make
    • perfect for sharing

    They’re also a lovely alternative to sweet bakes when you’re craving something hearty and nourishing.

    Ingredients (makes: 8–10 scones)

    • 225 g self-raising flour
    • Pinch of salt
    • 50 g cold butter, cubed
    • 100 g mature cheddar, grated
    • 1–2 tsp dried herbs (thyme, rosemary, or mixed herbs)
    • 1 tsp mustard powder (optional, for depth)
    • 150 ml milk
    • Extra milk or beaten egg, for glazing

    Recipe

    Step 1: Preheat & Prepare

    Preheat your oven to 200°C (fan) and line a baking tray with parchment paper.

    Step 2: Rub in the Butter

    Place the flour and salt in a bowl.
    Rub in the butter with your fingertips until the mixture resembles breadcrumbs.

    Step 3: Add Cheese & Herbs

    Stir through the grated cheese, dried herbs, and mustard powder if using.

    Step 4: Bring the Dough Together

    Add the milk gradually, mixing gently until a soft dough forms.
    Be careful not to overwork it – this keeps the scones light.

    Step 5: Shape & Cut

    Turn the dough out onto a lightly floured surface.
    Pat it gently to about 3–4 cm thick and cut into rounds.

    Step 6: Bake

    Place on the baking tray, brush the tops with milk or egg, and bake for 12–15 minutes, until risen and golden.

    Serve warm if possible – that’s when they’re at their very best.

    How to Enjoy Cheese & Herb Scones

    These scones are wonderfully versatile and suit so many winter moments. Enjoy them:

    • warm with butter melting into the crumb
    • alongside a bowl of soup or stew
    • split and filled with cream cheese
    • served on a winter grazing board
    • as a savoury afternoon snack with tea
    • packed up for a cosy lunch

    They’re especially lovely eaten fresh from the oven while the cheese is still soft.

    Winter Variations

    • Cheddar & Chive: fresh, mild onion flavour
    • Cheese & Rosemary: deeply warming and rustic
    • Cheese & Black Pepper: simple and classic
    • Cheese & Onion: add finely diced, softened onion
    • Extra Cheesy: sprinkle grated cheese on top before baking

    Each version keeps that cosy winter feel while offering a slightly different flavour.

    Create a Cosy Winter Baking Moment

    Bake cheese & herb scones on a day when:

    • the weather is cold outside
    • the house feels quiet
    • soup is simmering on the hob
    • candles are lit in the kitchen
    • you want something comforting but simple

    The smell alone makes winter feel warmer.

    Final Thoughts

    Cheese & herb scones are one of those winter snacks that never disappoint – warm, savoury, and deeply comforting. They’re quick to bake, easy to share, and perfect for embracing the slower rhythm of the season.

    Bake a batch, pour a mug of tea, and enjoy a quiet, cosy moment at home. 

  • Spiced Roasted Nuts: A Warm, Crunchy Autumn Snack for Cosy Evenings

    Spiced Roasted Nuts: A Warm, Crunchy Autumn Snack for Cosy Evenings

    As the air turns crisp and the evenings draw in, autumn calls for snacks that feel warming, comforting, and deeply satisfying. Spiced roasted nuts are a perfect answer – gently toasted, fragrantly spiced, and wonderfully crunchy, with flavours that feel made for this season.

    They’re simple to make, easy to customise, and ideal for everything from quiet afternoons at home to autumn gatherings with friends. Whether served warm from the oven or cooled and stored for snacking later, spiced roasted nuts bring that cosy, seasonal feeling with every handful.

    Why Spiced Nuts Are Perfect for Autumn

    Nuts have a natural richness that pairs beautifully with autumn spices. When roasted, they become extra aromatic and deeply comforting.

    Spiced roasted nuts are:

    • warming and satisfying
    • full of autumn flavour
    • perfect for sharing
    • easy to prepare in advance
    • ideal for cosy evenings indoors

    They’re also a lovely alternative to sweet snacks during the cooler months.

    Ingredients (serves: 4–6 as a snack)

    • 300 g mixed nuts (almonds, cashews, pecans, walnuts, hazelnuts)
    • 1 tbsp olive oil or melted butter
    • 1 tbsp honey or maple syrup
    • 1 tsp smoked paprika
    • ½ tsp ground cinnamon
    • ½ tsp ground cumin
    • ¼ tsp cayenne pepper (optional, for warmth)
    • ½ tsp sea salt

    Optional additions:

    • Pinch of nutmeg or mixed spice
    • Fresh rosemary leaves, finely chopped
    • Orange zest for a festive twist

    Recipe

    Step 1: Preheat & Prepare

    Preheat your oven to 180°C (fan). Line a baking tray with parchment paper.

    Step 2: Mix the Spices

    In a bowl, mix together the olive oil (or butter), honey, paprika, cinnamon, cumin, cayenne (if using), and salt.

    Step 3: Coat the Nuts

    Add the mixed nuts to the bowl and toss until evenly coated in the spiced mixture.

    Step 4: Roast

    Spread the nuts in a single layer on the baking tray.
    Roast for 12–15 minutes, stirring halfway through, until golden and fragrant.

    Step 5: Cool Slightly & Serve

    Allow to cool for a few minutes – they’ll crisp up as they cool.
    Taste and adjust seasoning if needed.

    How to Enjoy Spiced Roasted Nuts

    These autumn snacks are wonderfully versatile. Enjoy them:

    • with a mug of tea or mulled apple juice
    • as a nibble during cosy movie nights
    • sprinkled over autumn salads
    • as part of a seasonal grazing board
    • packed into jars for homemade gifts
    • alongside cheese and crackers

    They’re especially lovely when served warm on chilly evenings.

    Autumn Flavour Variations

    • Cinnamon & Maple: sweet, gentle warmth
    • Smoky Paprika & Rosemary: earthy and savoury
    • Chilli & Honey: sweet heat
    • Orange & Spice: festive and bright
    • Herb & Garlic: savoury autumn twist

    Each variation keeps that cosy, seasonal feel while offering something a little different.

    Create a Cosy Autumn Moment

    Make spiced roasted nuts when:

    • the oven is already warm
    • rain taps against the windows
    • candles are lit nearby
    • you want something comforting without fuss

    Let the warm scent of spices fill the kitchen – it’s one of those small pleasures that makes autumn feel special.

    Final Thoughts

    Spiced roasted nuts are autumn snacking at its best – crunchy, warming, and full of comforting flavour. They’re easy to make, endlessly adaptable, and perfect for slow evenings when you want something cosy to nibble.

    Roast a batch, pour a warm drink, and enjoy the quiet pleasures of the season. 

  • Cranberry Oat Bars: A Cosy, Wholesome Winter Snack for Slow Days

    Cranberry Oat Bars: A Cosy, Wholesome Winter Snack for Slow Days

    Winter snacking is all about comfort – something nourishing, gently sweet, and satisfying enough to enjoy with a warm drink while the daylight fades early. These cranberry oat bars are just the thing. Soft yet hearty, lightly golden, and studded with tangy cranberries, they feel homely and reassuring in the best possible way.

    Perfect for afternoon tea, post-walk refuelling, lunchbox treats, or quiet evenings at home, cranberry oat bars are simple to make and even better enjoyed slowly. They’re the kind of bake that fits seamlessly into winter life – unfussy, warming, and deeply comforting.

    Ingredients (makes: 9–12 bars)

    • 200 g rolled oats
    • 100 g plain flour
    • 100 g unsalted butter
    • 100 g light brown sugar
    • 2 tbsp golden syrup or honey
    • 100 g dried cranberries
    • ½ tsp cinnamon
    • Pinch of salt
    • Optional:
      • 50 g chopped nuts (walnuts or almonds)
      • 1 tsp orange zest
      • 1 tbsp seeds (pumpkin or sunflower)

    Recipe

    Step 1: Preheat & Prepare

    Preheat your oven to 170°C (fan). Line a square baking tin (around 20 × 20 cm) with parchment paper.

    Step 2: Melt the Wet Ingredients

    In a small saucepan, gently melt the butter, brown sugar, and golden syrup together, stirring until smooth. Remove from the heat.

    Step 3: Mix the Dry Ingredients

    In a large bowl, combine the oats, flour, cinnamon, salt, cranberries, and any optional add-ins.

    Step 4: Bring It Together

    Pour the melted mixture into the dry ingredients and stir until everything is well coated and evenly mixed.

    Step 5: Bake

    Press the mixture firmly into the prepared tin. Bake for 25–30 minutes, until lightly golden around the edges.

    Step 6: Cool & Slice

    Allow to cool completely in the tin before slicing into bars or squares. This helps them set beautifully.

    Why Cranberry Oat Bars Are Perfect for Winter

    These bars feel especially suited to the colder months because they’re:

    • Hearty and filling
    • Gently sweet, not overpowering
    • Soft with a slight chew
    • Easy to store for a few days
    • Comforting with hot drinks

    The tartness of cranberries cuts through the richness of oats and butter, creating a lovely balance that feels just right in winter.

    How to Enjoy Them

    Cranberry oat bars are wonderfully versatile. Enjoy them:

    • With a mug of tea, chai, or hot chocolate
    • As a mid-morning snack
    • After a winter walk
    • Packed for work or school
    • Crumbled over yoghurt for breakfast
    • As part of a cosy winter grazing board

    They’re also ideal for sharing – wrapped in parchment or stored in a tin on the kitchen counter.

    Winter Variations

    • Cranberry & Orange: Add orange zest for brightness.
    • Cranberry & White Chocolate: Stir in white chocolate chips after cooling.
    • Cranberry & Almond: Swap some oats for flaked almonds.
    • Spiced Cranberry: Add nutmeg or mixed spice for extra warmth.
    • Vegan option: Use plant-based butter and maple syrup.

    Create a Cosy Baking Moment

    Bake these bars on a slow winter afternoon when the oven’s already on, music plays softly, and the kitchen feels warm and welcoming. Let the scent of oats and cranberries fill the house – it’s the kind of small ritual that makes winter feel comforting and calm.

    Final Thoughts

    These cranberry oat bars are a winter snack that feels both nourishing and indulgent – simple to make, easy to store, and perfect for slow seasonal living. Whether enjoyed with a hot drink or tucked into a coat pocket for a chilly walk, they bring a little warmth and comfort to winter days.

    Bake a batch, slice generously, and enjoy the quiet pleasure of a homemade winter treat. 

  • Chicken & Barley Soup: A Hearty, Comforting Autumn Bowl for Cooler Days

    Chicken & Barley Soup: A Hearty, Comforting Autumn Bowl for Cooler Days

    As autumn settles in and the evenings begin to draw close, there’s something deeply reassuring about a pot of soup gently simmering on the hob. Chicken and barley soup is one of those timeless, nourishing dishes – hearty without being heavy, warming without being rich, and perfect for the slower rhythm of the season.

    With tender chicken, soft vegetables, and barley that gives the soup a satisfying, wholesome texture, this is the kind of meal that warms you from the inside out. It’s simple, honest food – the sort you return to again and again as the weather cools.

    Why Chicken & Barley Is Perfect for Autumn

    This soup feels especially suited to autumn because it is:

    • warming and filling
    • gently nourishing
    • rooted in traditional, simple cooking
    • perfect for batch cooking and leftovers
    • comforting after a crisp walk or long day

    Barley adds a lovely chew and depth, making the soup feel substantial and grounding – ideal for cooler days.

    Ingredients (serves: 4–6)

    • 1 tbsp olive oil or butter
    • 1 onion, finely chopped
    • 2 carrots, diced
    • 2 celery sticks, diced
    • 2 garlic cloves, crushed
    • 120 g pearl barley
    • 1 litre chicken stock
    • 300–400 g cooked chicken (roast or poached), shredded
    • 1 bay leaf
    • 1 tsp dried thyme (or a few fresh sprigs)
    • Salt and freshly ground black pepper
    • Fresh parsley, to finish

    Optional additions:

    • leek, sliced
    • splash of lemon juice
    • handful of spinach or kale
    • extra herbs for warmth

    Recipe

    Step 1: Soften the Vegetables

    Heat the oil or butter in a large saucepan over medium heat.
    Add the onion, carrot, and celery and cook gently for 5–7 minutes, until softened and fragrant.

    Step 2: Add Garlic & Barley

    Stir in the garlic and pearl barley, cooking for a minute to coat the grains and release their nutty aroma.

    Step 3: Simmer

    Pour in the stock and add the bay leaf and thyme.
    Bring to a gentle boil, then reduce to a simmer and cook for 30–35 minutes, until the barley is tender.

    Step 4: Add the Chicken

    Stir in the shredded chicken and simmer for another 5–10 minutes, until heated through.

    Step 5: Season & Serve

    Season with salt and plenty of black pepper.
    Remove the bay leaf and finish with fresh parsley.

    Serve hot, with bread on the side if you like.

    How to Serve Chicken & Barley Soup

    This soup is lovely served with:

    It’s perfect for lunch, supper, or a cosy evening meal when you want something nourishing and soothing.

    Autumn Variations

    • Creamy chicken & barley: stir in a splash of cream at the end
    • Chicken, barley & leek: softer, sweeter flavour
    • Lemon chicken barley soup: brightens cooler days
    • Herby version: add rosemary or parsley stems while simmering
    • Extra veg: add swede or parsnip for deeper autumn flavour

    Creating a Cosy Autumn Moment

    Chicken and barley soup is best enjoyed slowly:

    • when the house feels calm
    • with candles lit
    • rain tapping against the window
    • bowls warmed before serving
    • bread torn and shared

    It’s the kind of meal that invites you to sit down, slow down, and feel looked after.

    Final Thoughts

    Chicken and barley soup is autumn comfort at its most honest – warming, nourishing, and quietly restorative. It’s food that doesn’t rush, doesn’t shout, and doesn’t need embellishment – just time, warmth, and a little care.

    A steaming bowl, a slice of bread, and a quiet autumn evening – sometimes that’s all you need.

  • Mushroom & Thyme Soup: A Comforting Autumn Bowl for Cool Days & Quiet Evenings

    Mushroom & Thyme Soup: A Comforting Autumn Bowl for Cool Days & Quiet Evenings

    As autumn settles in and the air grows cooler, soups become a daily comfort – gently simmered, warming, and deeply nourishing. Mushroom and thyme soup feels especially suited to this season. Earthy mushrooms, fragrant thyme, and a soft, velvety texture come together in a bowl that feels grounding and calm.

    This is the kind of soup made slowly, with the windows slightly misted from the steam, bread warming nearby, and the day gently winding down. It’s simple, honest cooking – and one of autumn’s quiet pleasures.

    Why Mushroom & Thyme Is Perfect for Autumn

    Mushrooms are at their best in autumn. Their deep, woodland flavour pairs beautifully with thyme’s gentle, herbaceous warmth.

    This soup works so well in autumn because it is:

    • earthy and comforting
    • warming without being heavy
    • rich in flavour from simple ingredients
    • perfect for cooler days
    • ideal for slow, cosy meals

    It tastes like autumn forests and quiet afternoons.

    Ingredients (serves: 4)

    • 1 tbsp butter
    • 1 tbsp olive oil
    • 1 onion, finely chopped
    • 2 garlic cloves, crushed
    • 400 g mushrooms (chestnut or button), sliced
    • 1 tsp fresh thyme leaves (or ½ tsp dried thyme)
    • 750 ml vegetable stock
    • 100 ml cream (optional, for a creamy finish)
    • Salt and freshly ground black pepper

    Optional additions:

    • splash of white wine
    • knob of butter to finish
    • drizzle of olive oil
    • handful of sautéed mushrooms to garnish

    Recipe

    Step 1: Soften the Base

    Heat the butter and olive oil in a large saucepan over medium heat.
    Add the onion and cook gently for 5–7 minutes, until soft and translucent.

    Step 2: Add Mushrooms & Thyme

    Stir in the mushrooms and thyme.
    Cook for 8–10 minutes, allowing the mushrooms to release their moisture and deepen in flavour.
    Add the garlic and cook for another minute.

    Step 3: Simmer

    Pour in the stock and bring to a gentle simmer.
    Cook for 15 minutes, letting the flavours meld.

    Step 4: Blend

    Blend the soup until smooth, or leave slightly textured if you prefer a rustic finish.

    Step 5: Finish

    Stir in the cream if using, season with salt and pepper, and warm through gently.

    Serve hot, with an extra drizzle of olive oil or cream on top.

    How to Serve Mushroom & Thyme Soup

    This soup is perfect with:

    It’s ideal for lunch, supper, or a quiet evening meal when you want something soothing.

    Autumn Variations

    • Creamy Mushroom Soup: add extra cream for richness
    • Mushroom & Leek Soup: softer and sweeter
    • Wild Mushroom Soup: deeper, more intense flavour
    • Mushroom & Garlic Soup: bold and warming
    • Dairy-Free: skip the cream and finish with olive oil

    Each version keeps that earthy autumn heart.

    Creating a Cosy Autumn Moment

    Mushroom and thyme soup is best enjoyed when:

    • the house feels calm
    • candles are lit
    • the day has slowed
    • rain taps gently at the window
    • bread is torn, not sliced

    It’s food meant to be eaten slowly, savoured spoon by spoon.

    Final Thoughts

    Mushroom and thyme soup is autumn comfort in its purest form – earthy, warming, and quietly restorative. It doesn’t need much embellishment, just good ingredients, gentle heat, and time.

    A warm bowl, a piece of bread, and a slow autumn evening – sometimes that’s all you need. 

  • Autumn Breakfast: Roasted Squash & Feta on Toast

    Autumn Breakfast: Roasted Squash & Feta on Toast

    A Warm, Savoury Start to Crisp Mornings

    Autumn breakfasts invite a little more warmth, a little more depth – flavours that feel grounding and nourishing as the mornings turn cooler. Roasted squash and feta on toast is a perfect reflection of the season: soft, caramelised squash fresh from the oven, creamy salty feta, and warm toast bringing it all together.

    It’s a breakfast that feels both comforting and quietly special. Simple ingredients, gently roasted, enjoyed slowly – ideal for weekend mornings, post-walk breakfasts, or those days when you want something savoury and seasonal to begin with.

    Why Squash Works So Beautifully in Autumn

    Squash is one of autumn’s true staples. When roasted, it becomes sweet, soft, and deeply comforting – a perfect contrast to salty feta and crisp toast.

    This breakfast works so well in autumn because it is:

    • warm and grounding
    • savoury with a hint of natural sweetness
    • filling without being heavy
    • rooted in seasonal produce
    • comforting yet fresh

    It feels like autumn on a plate.

    Ingredients (serves: 1)

    • ½ small butternut squash or pumpkin, peeled and cubed
    • 1 tbsp olive oil
    • Salt and freshly ground black pepper
    • ½ tsp dried thyme or rosemary
    • 1–2 slices of bread (sourdough or farmhouse loaf work beautifully)
    • 40–50 g feta cheese, crumbled

    Optional additions:

    • drizzle of honey
    • chilli flakes
    • pumpkin seeds or walnuts
    • fresh herbs (thyme or parsley)

    How to Make Roasted Squash & Feta on Toast

    Step 1: Roast the Squash

    Preheat your oven to 200°C (fan).
    Toss the squash cubes with olive oil, salt, pepper, and herbs.
    Spread on a baking tray and roast for 25–30 minutes, until soft and lightly caramelised.

    Step 2: Toast the Bread

    While the squash roasts, toast the bread until warm and lightly golden.

    Step 3: Assemble

    Spoon the warm roasted squash generously over the toast.
    Crumble feta over the top, letting it soften slightly from the heat.

    Step 4: Finish

    Add any optional toppings – a drizzle of honey for sweetness, seeds for crunch, or chilli flakes for warmth.

    Serve immediately while everything is warm and comforting.

    Choosing the Right Toast

    Autumn breakfasts suit heartier breads that can hold the toppings well:

    A good slice of toast adds structure and warmth to the dish.

    Autumn Variations

    To keep the base but gently change the mood:

    • Squash, Feta & Honey: sweet–salty comfort
    • Squash, Feta & Chilli: warming and bold
    • Squash & Goat’s Cheese: softer and creamier
    • Squash, Feta & Spinach: extra nourishment
    • Squash & Herbed Yoghurt: lighter but still cosy

    Each variation keeps that calm, autumnal feel.

    Creating a Slow Autumn Breakfast Ritual

    This is a breakfast best enjoyed without rushing:

    • eaten at the table
    • curtains open to soft autumn light
    • tea or coffee steaming nearby
    • phone set aside for a few minutes
    • the kitchen still warm from the oven

    It’s a gentle way to ease into the day.

    Final Thoughts

    Roasted squash and feta on toast is autumn breakfast at its most comforting – warm, savoury, and rooted in the season. It’s simple food, made slowly, that feels both nourishing and special.

    Golden squash, salty feta, warm toast – a lovely way to welcome an autumn morning.

  • Autumn Breakfast: Mushroom & Thyme Omelette

    Autumn Breakfast: Mushroom & Thyme Omelette

    A Warm, Earthy Start to Crisp Mornings

    Autumn mornings call for breakfasts that feel grounding and nourishing – dishes that are warm, gently savoury, and unhurried. A mushroom and thyme omelette fits this moment perfectly. Soft eggs folded around earthy mushrooms and fragrant thyme create a breakfast that feels calm, comforting, and quietly satisfying.

    It’s the kind of meal made slowly in a warm kitchen while the outside air feels cool and fresh. Simple ingredients, cooked with care, and enjoyed without rush – a beautiful way to begin an autumn day.

    Why Mushroom & Thyme Feels So Autumnal

    Mushrooms and thyme are deeply tied to autumn cooking. Together, they bring:

    • earthy, woodland flavours
    • warmth without heaviness
    • a savoury comfort that suits cooler mornings
    • simplicity rooted in seasonal ingredients

    This omelette feels wholesome and restorative – perfect after an early walk or as a slow weekend breakfast.

    Ingredients (serves: 1)

    • 2–3 large eggs
    • 1 tbsp milk or cream (optional)
    • Small knob of butter
    • 1 handful mushrooms (chestnut or button), sliced
    • ½ tsp fresh thyme leaves (or a pinch of dried thyme)
    • Salt and freshly ground black pepper

    Optional additions:

    • a little grated cheese (cheddar or Gruyère)
    • sautéed onions or leeks
    • fresh parsley to finish

    How to Make a Soft Mushroom & Thyme Omelette

    Step 1: Cook the Mushrooms

    Heat a small pan with a little butter over medium heat.
    Add the mushrooms and cook gently until soft, golden, and their moisture has cooked away.
    Stir in the thyme and remove from the heat.

    Step 2: Whisk the Eggs

    Crack the eggs into a bowl, add milk or cream if using, and whisk gently knowing you want softness, not froth.
    Season lightly with salt and pepper.

    Step 3: Cook the Omelette

    Melt a little butter in a non-stick pan over low to medium heat.
    Pour in the eggs and let them settle.
    As the edges begin to set, gently draw the egg towards the centre with a spatula.

    Step 4: Fill & Fold

    Spoon the mushrooms onto one half of the omelette.
    Fold gently and cook for another minute until just set but still soft inside.

    Serve immediately, while warm and tender.

    How to Serve It

    This autumn omelette is lovely served:

    • with warm buttered toast or sourdough
    • alongside roasted tomatoes
    • with wilted spinach or greens
    • as part of a slow weekend breakfast
    • with a mug of tea or coffee

    It’s simple, but deeply satisfying.

    Autumn Variations

    To keep the base but gently change the mood:

    • Mushroom, Thyme & Cheese – richer and comforting
    • Mushroom & Leek Omelette – soft, sweet, and seasonal
    • Wild Mushroom Omelette – for a special autumn morning
    • Herb Omelette – thyme, parsley, and chives together

    Each variation keeps that calm, autumnal feel.

    Creating an Autumn Breakfast Ritual

    This omelette is best enjoyed slowly:

    • eaten at the table, not on the go
    • curtains open to soft morning light
    • phone set aside
    • kitchen still warm from cooking

    Sometimes breakfast isn’t just fuel – it’s a moment to gently ease into the day.

    Final Thoughts

    A mushroom and thyme omelette is autumn breakfast at its most comforting – warm eggs, earthy flavours, and a sense of calm that suits crisp mornings perfectly. It’s proof that simple, seasonal food can feel deeply nourishing without being complicated.

    Soft, savoury, and quietly grounding – a lovely way to welcome the day.