Spring is a season that invites us to slow down.
The days grow longer, blossom begins to appear on trees, and the air carries a softness that feels quietly hopeful. It is the perfect time to embrace small rituals that celebrate the changing season.
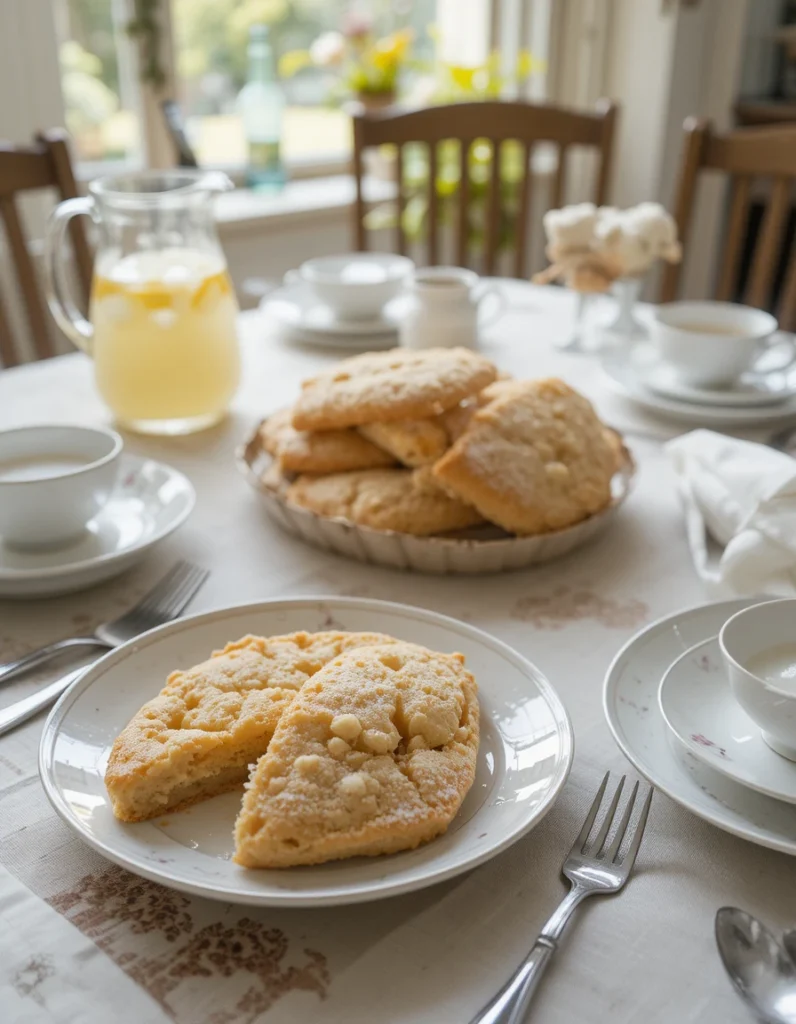
One of the loveliest of these is afternoon tea.
A spring afternoon tea doesn’t need to be elaborate. A few thoughtful bakes, delicate sandwiches, and a pot of tea shared in gentle conversation can turn an ordinary afternoon into something memorable.
It is a simple way to welcome the season – with fresh flavours, light sweetness, and time spent together.
Why Afternoon Tea Feels Perfect in Spring
Spring naturally lends itself to lighter, more delicate foods. The flavours of the season tend to be:
- Fresh
- Floral
- Citrus-bright
- Lightly sweet
Afternoon tea embraces these qualities beautifully. Small portions allow you to enjoy a variety of seasonal treats without feeling heavy. It also creates space for something we often overlook – a pause in the middle of the day. A moment to sit, talk, and enjoy something carefully prepared.
What to Serve at a Spring Afternoon Tea
A traditional afternoon tea usually includes a mixture of savoury bites, sweet bakes, and freshly brewed tea.
For a spring table, keep the menu light and seasonal.
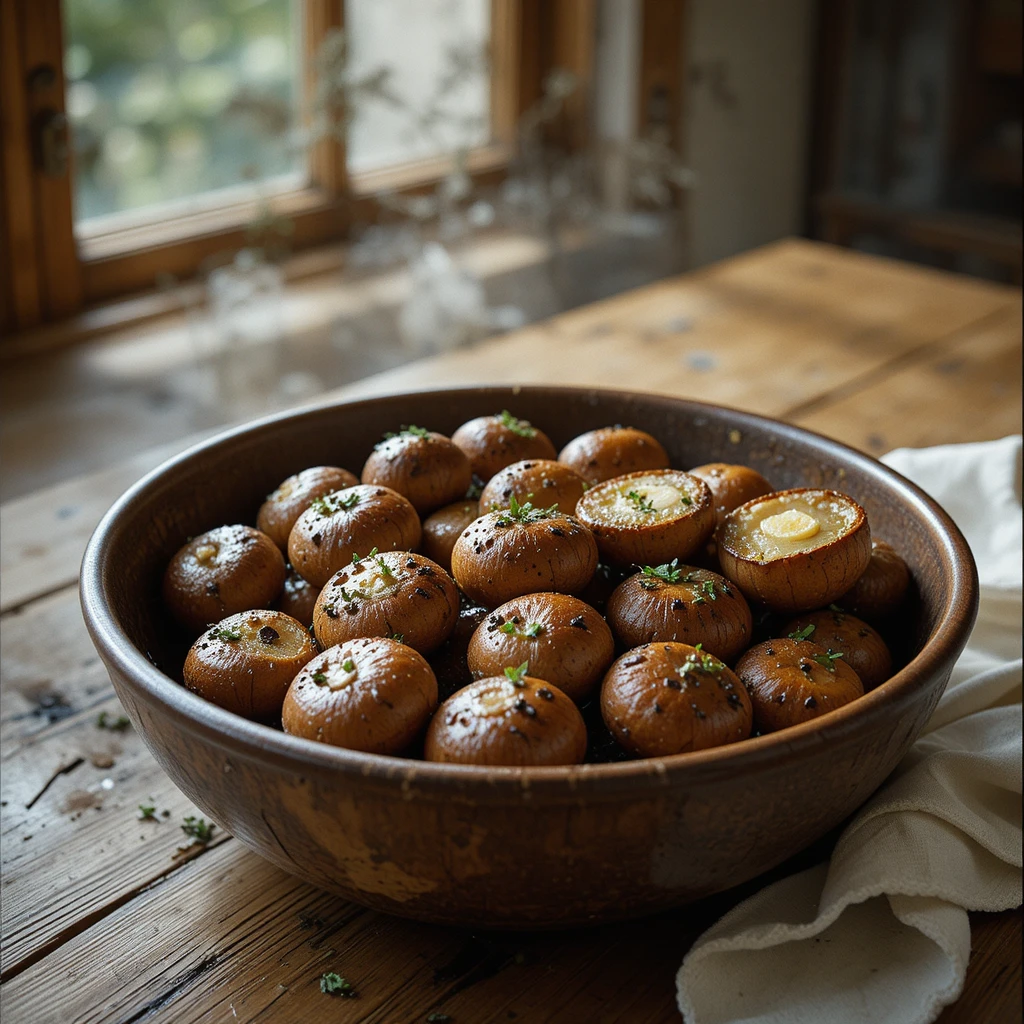
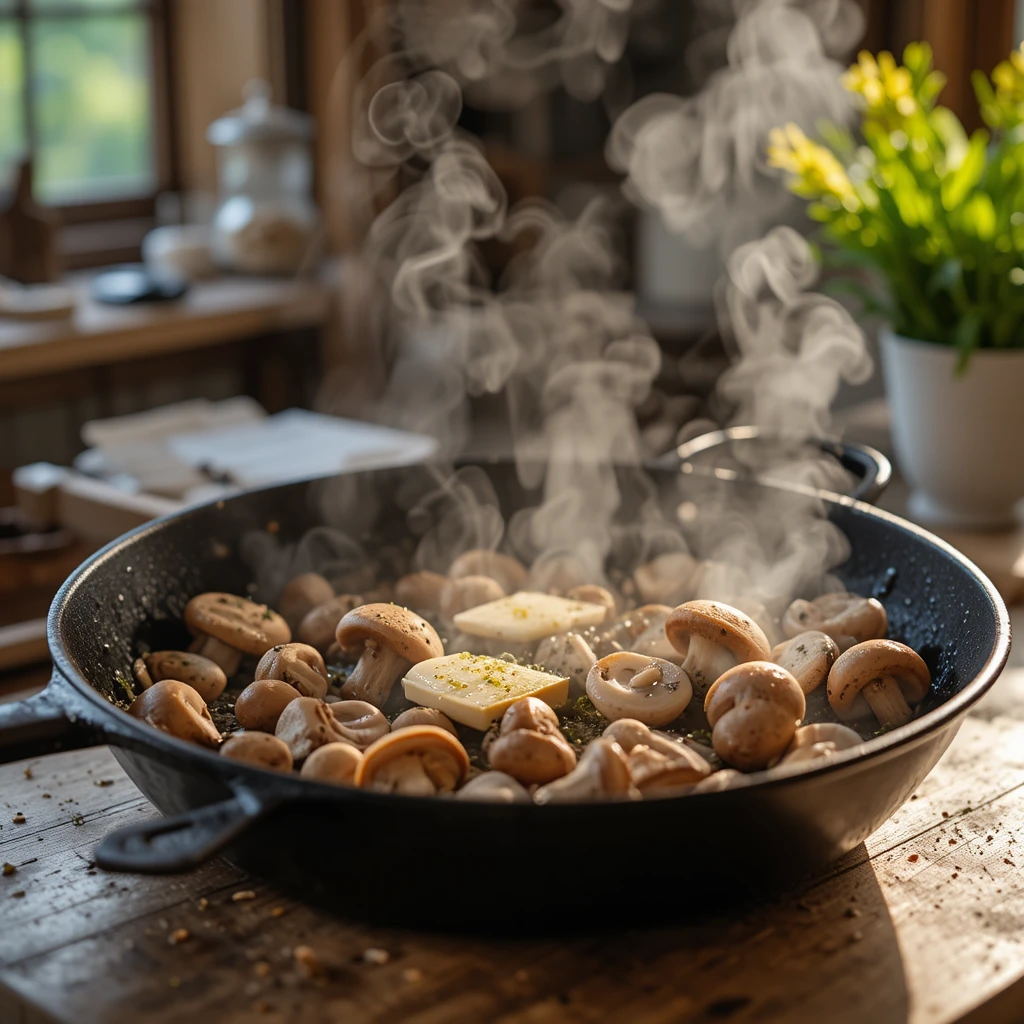
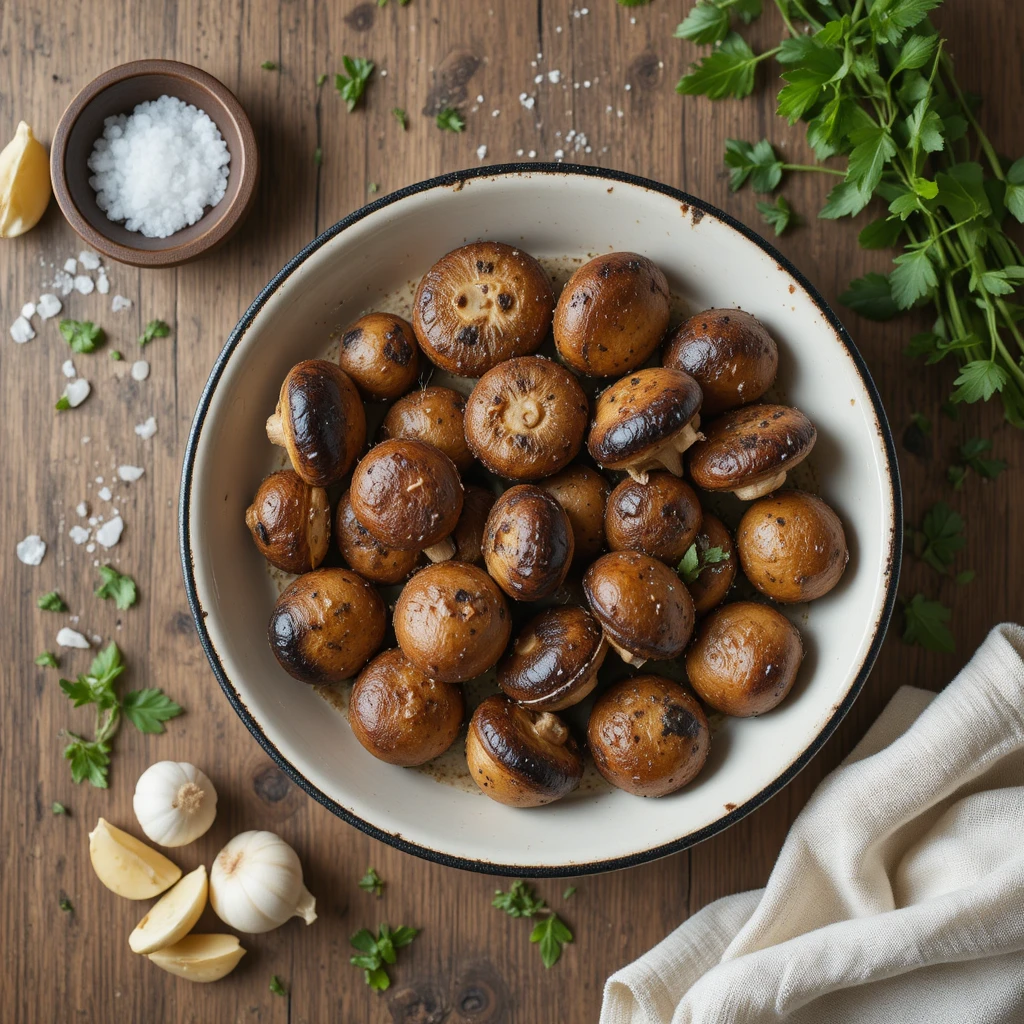
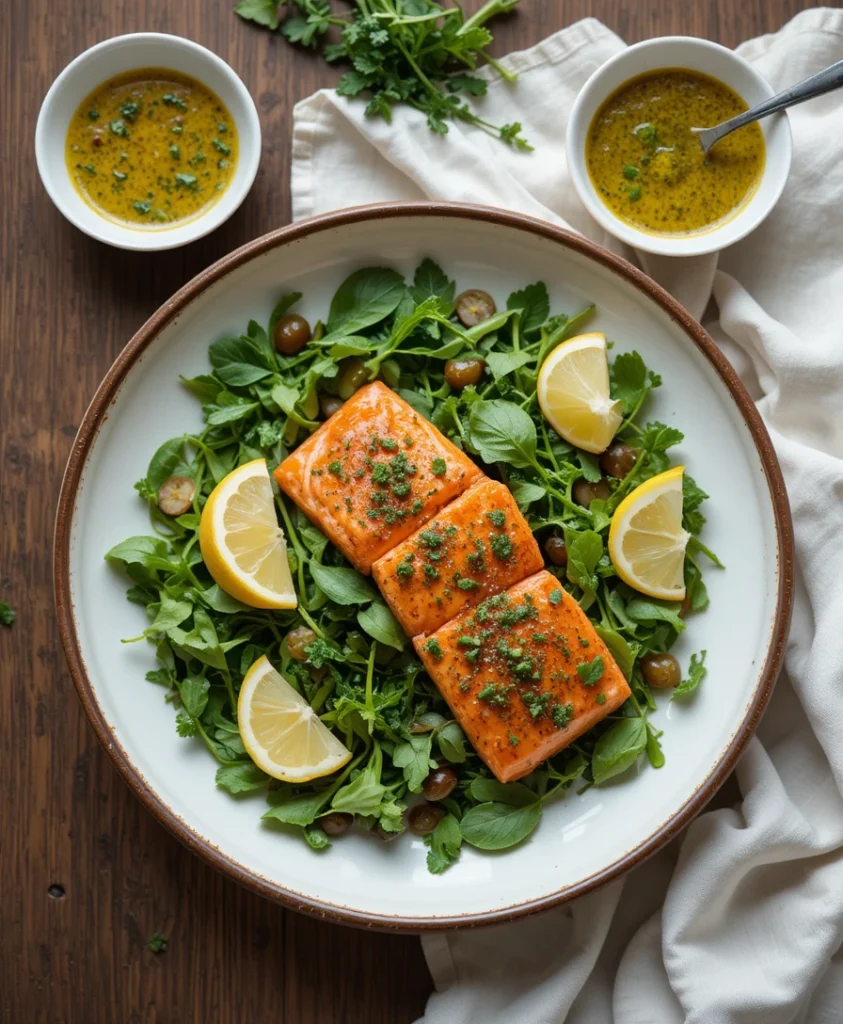
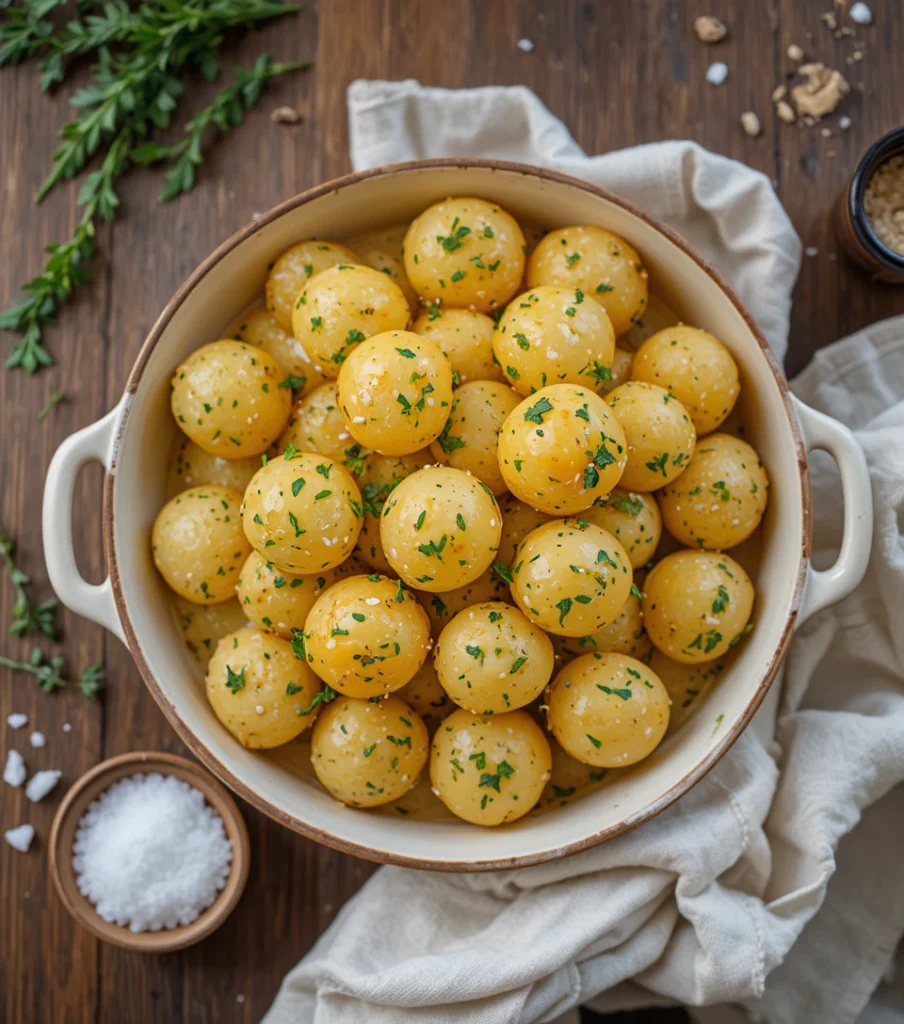
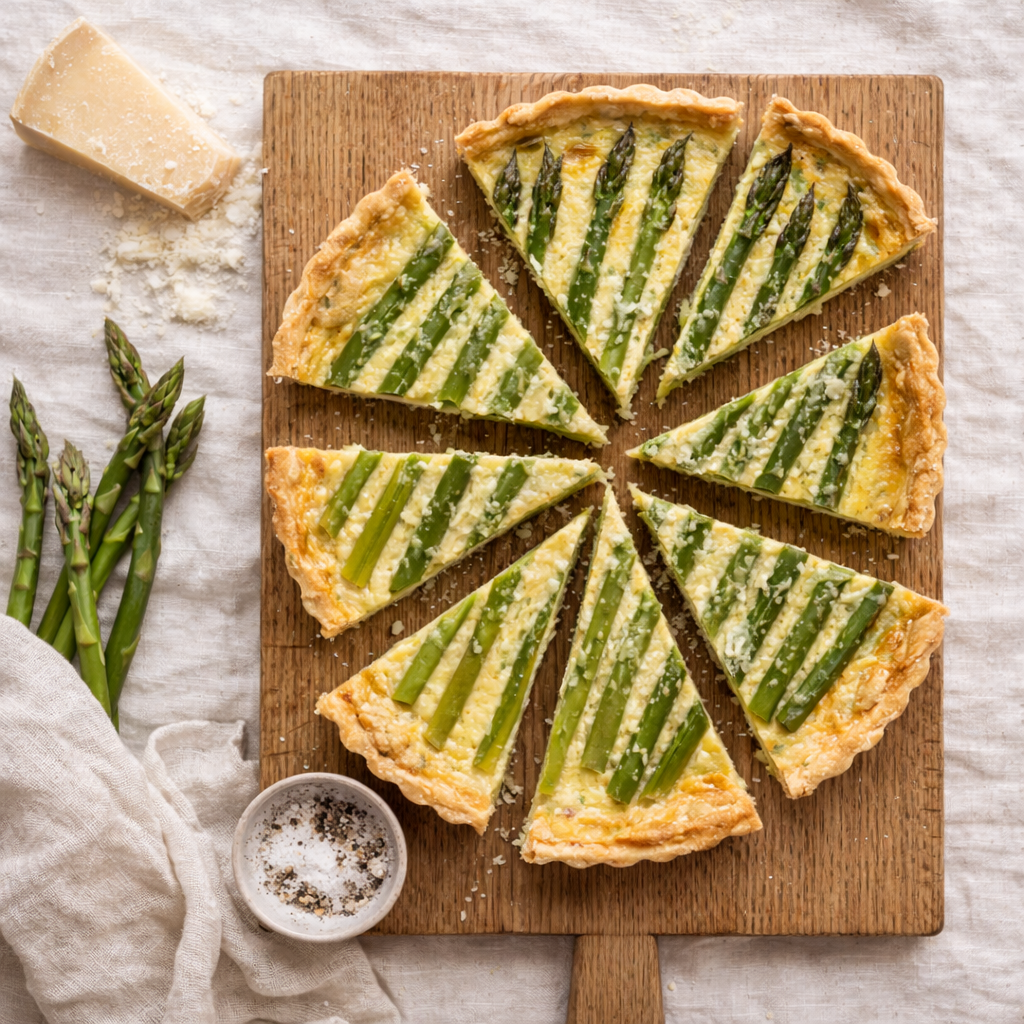
Savoury Options
- Salmon & cream cheese sandwiches
- Cucumber sandwiches with fresh herbs
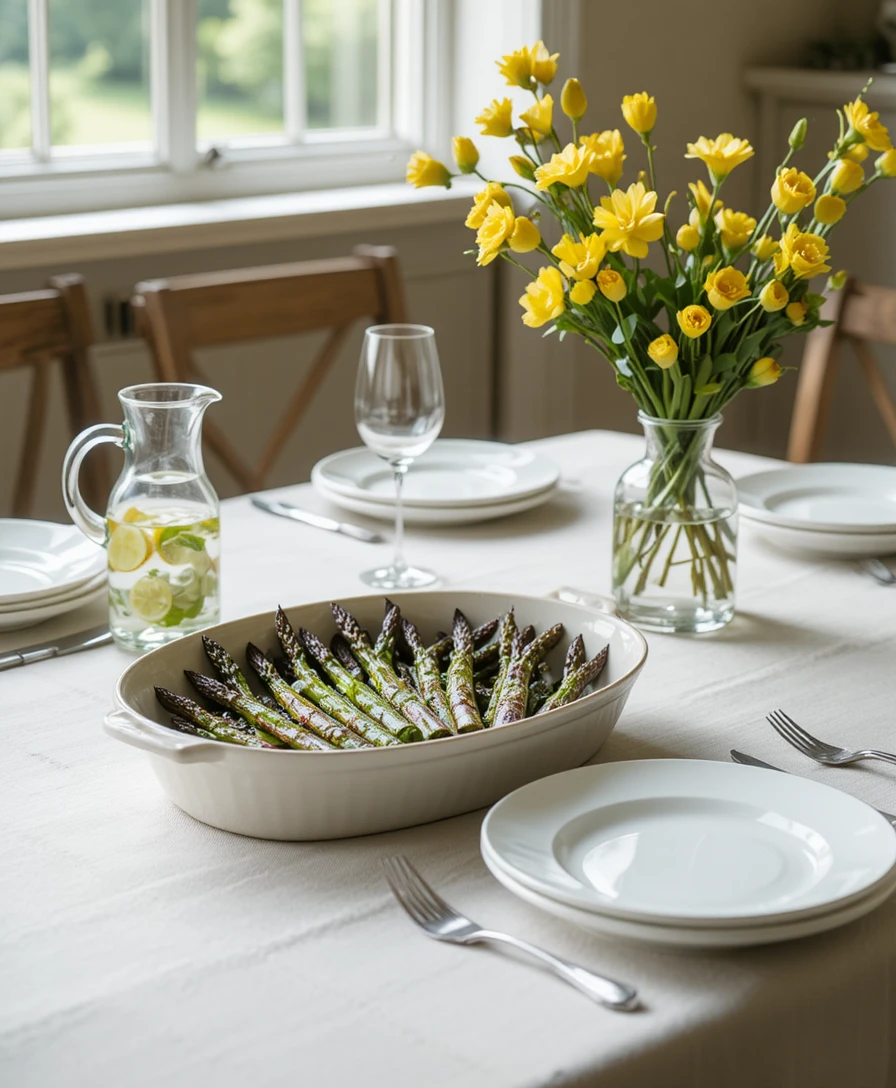
- Asparagus & parmesan quiche slices
- Mini egg and chive sandwiches
- Buttered new potatoes with herbs
These simple savoury bites balance the sweetness of the baked treats.
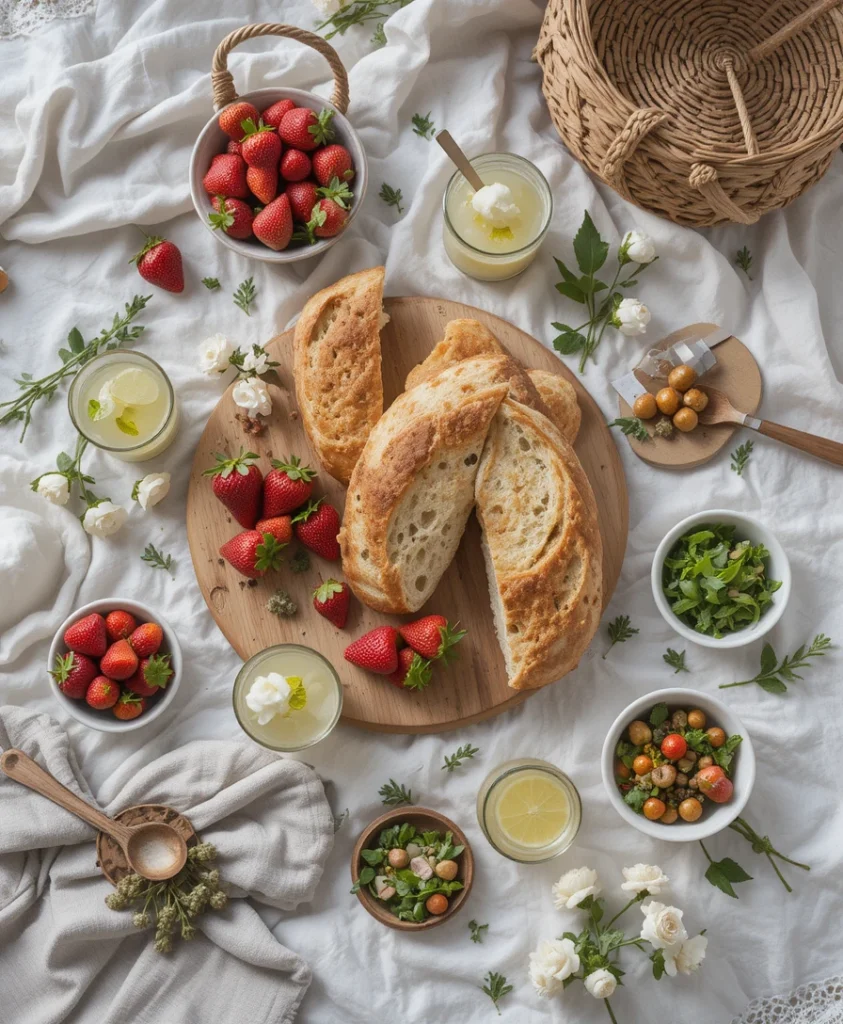
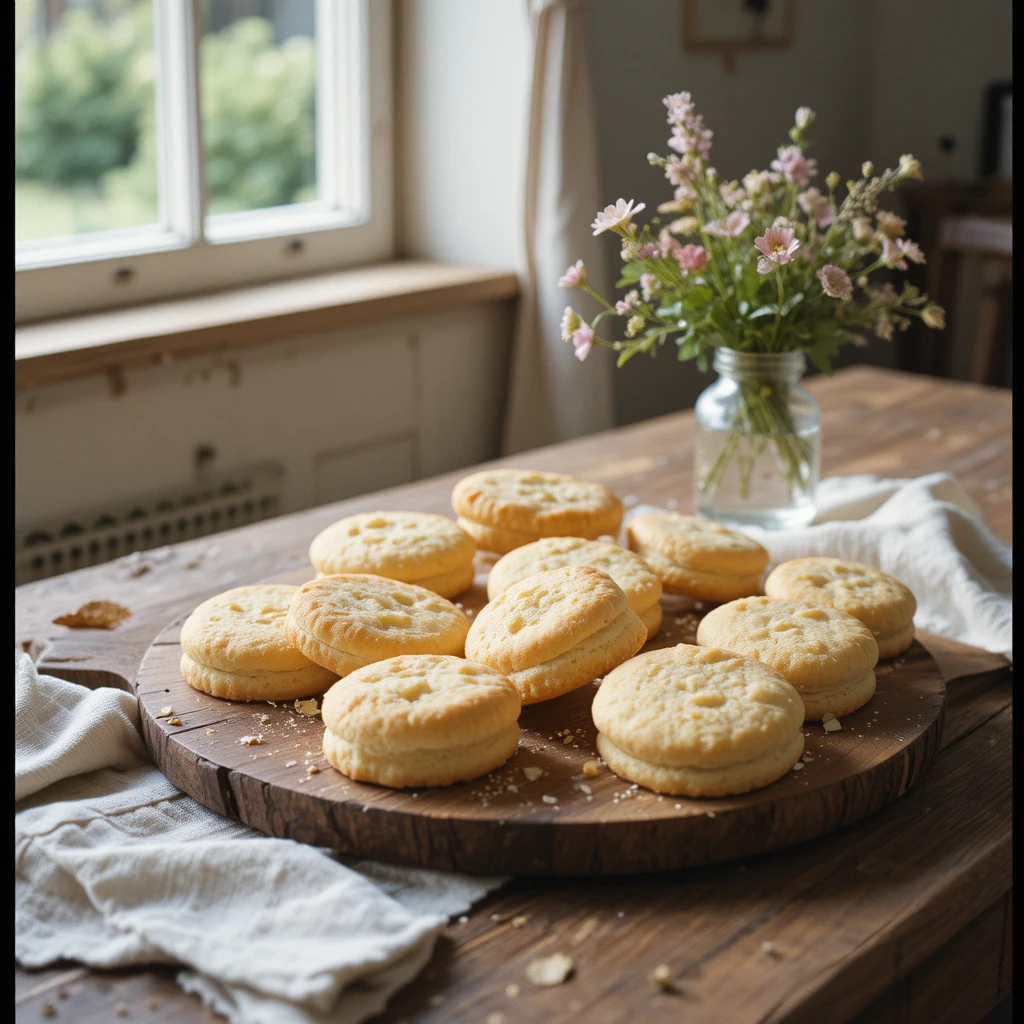
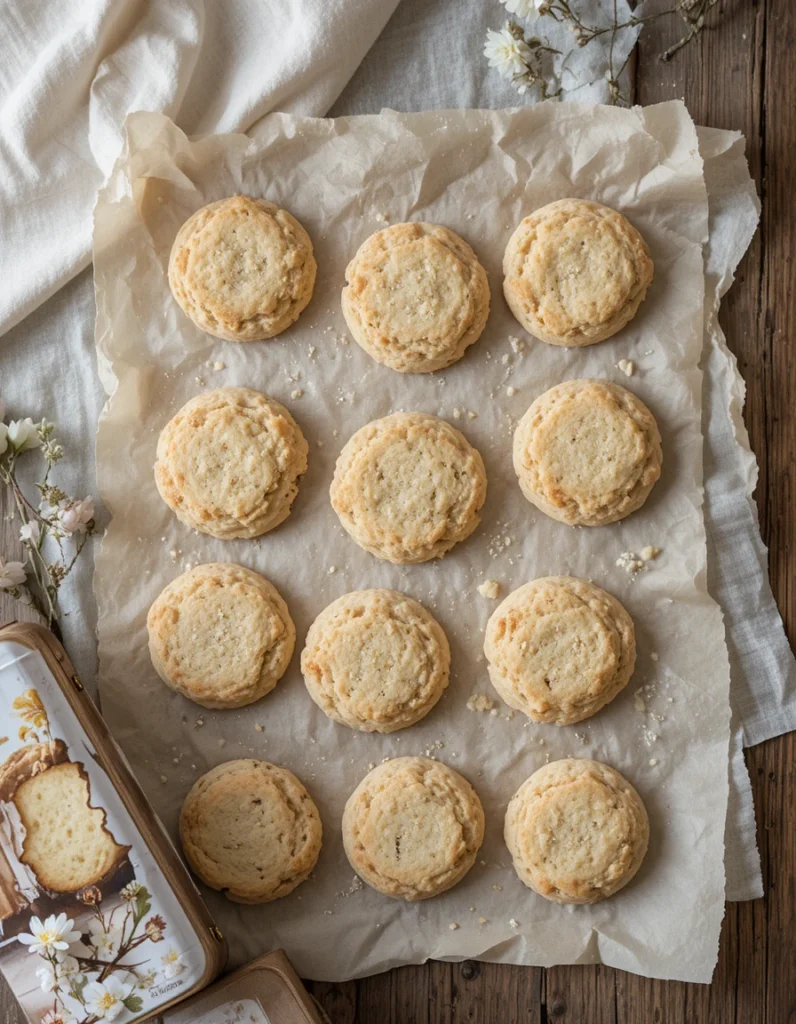
Sweet Treats
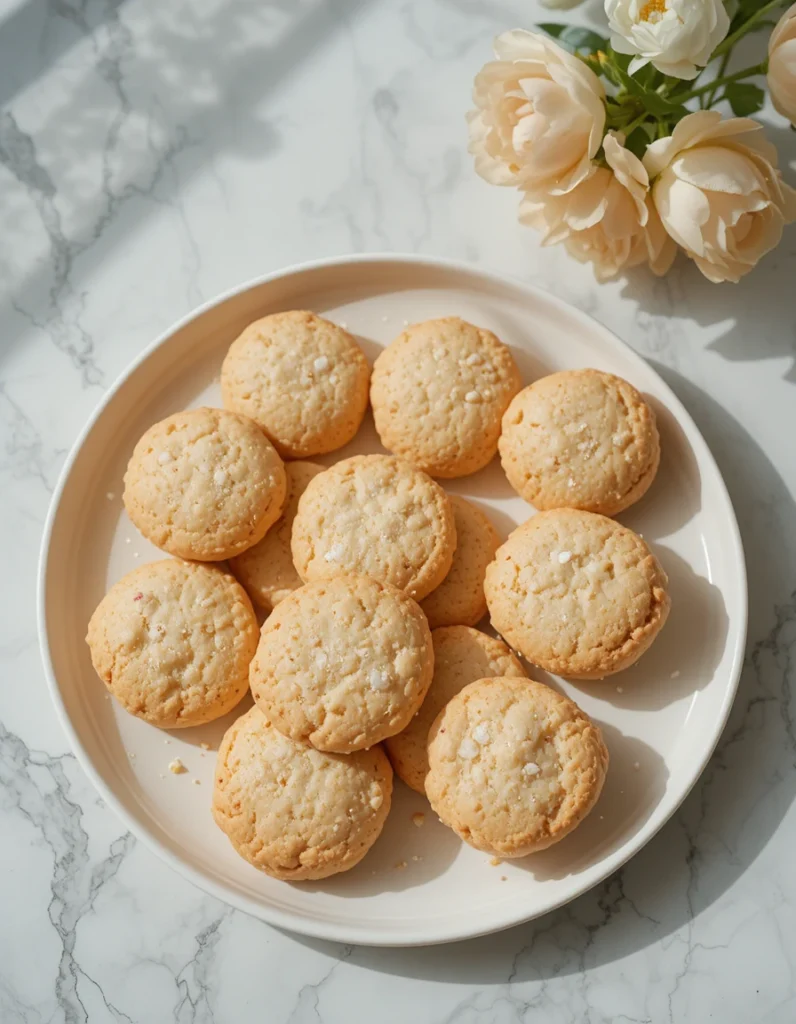
Spring desserts often highlight fresh fruit and light flavours. Lovely options include:
- Homemade shortbread
- Lemon drizzle loaf
- Victoria sponge slices
- Fresh strawberries with cream
- Small berry tarts
Keeping the portions small allows guests to enjoy a variety of flavours.
Drinks to Serve
Tea is, of course, the centrepiece of afternoon tea. Some lovely spring choices include:
- English breakfast tea
- Earl Grey
- Chamomile tea
- Green tea with lemon
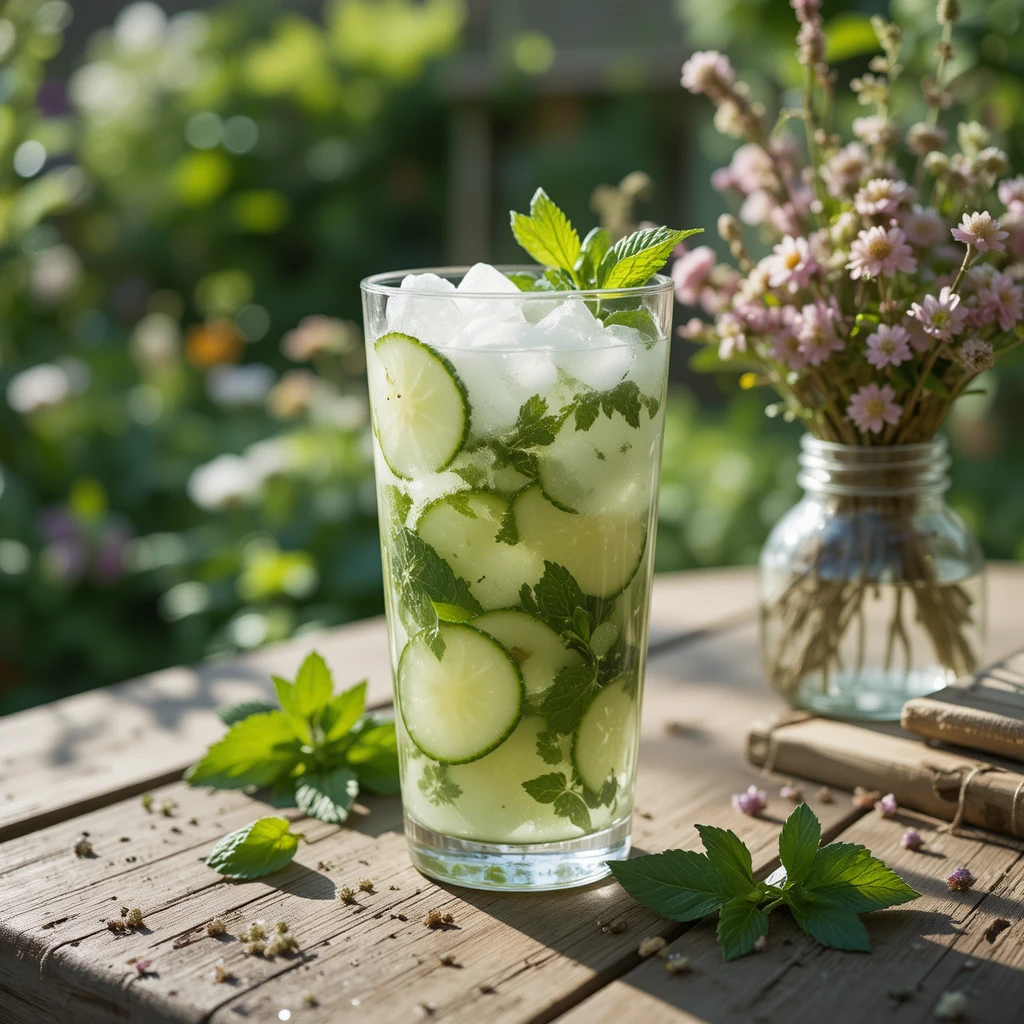
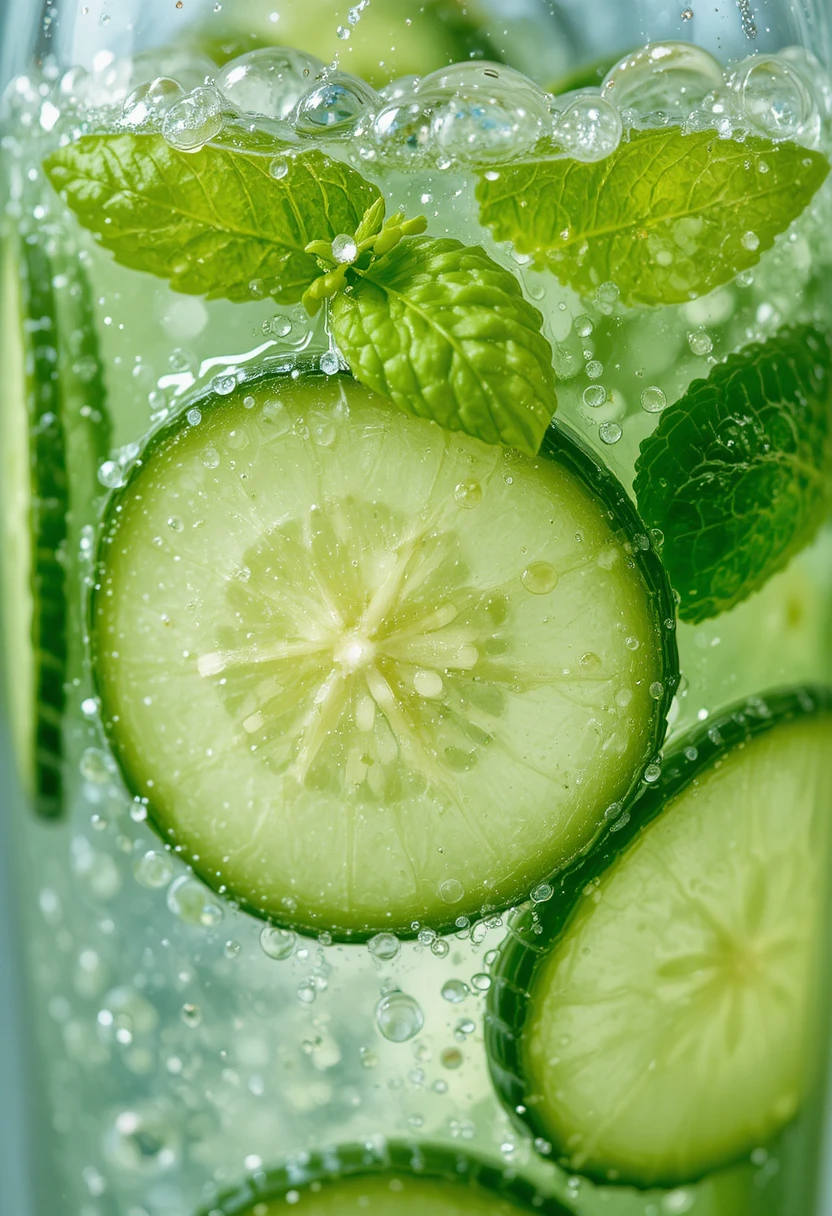
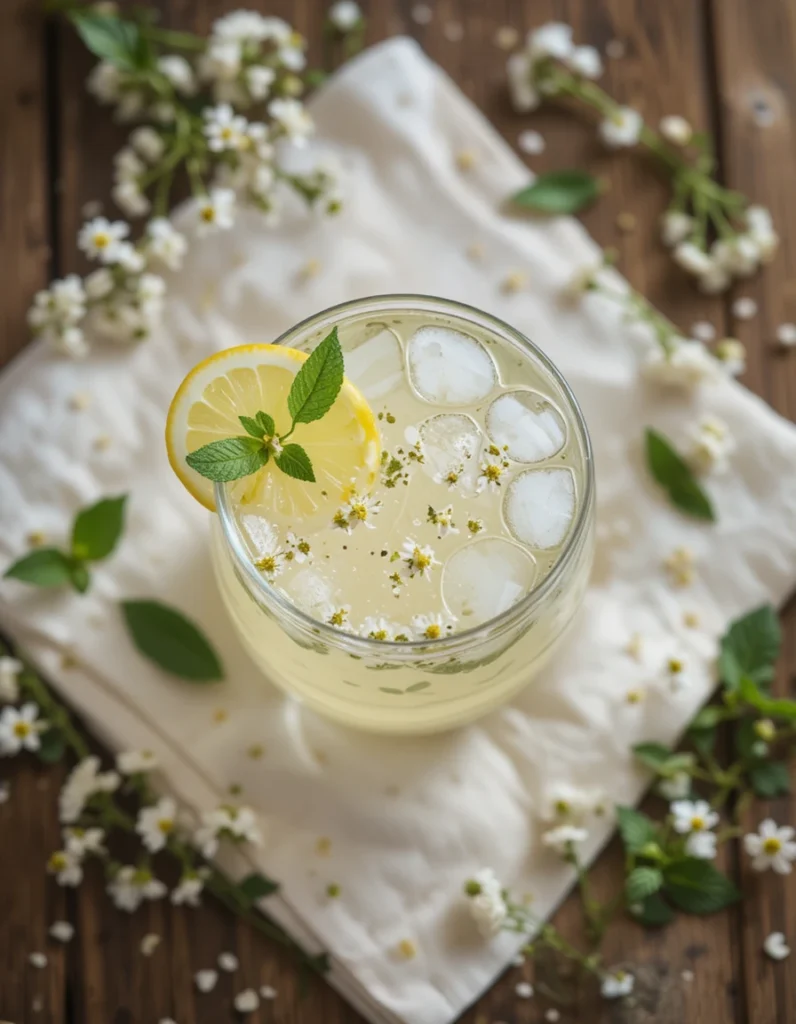
You might also offer refreshing drinks such as:
Light drinks complement the delicate food beautifully.
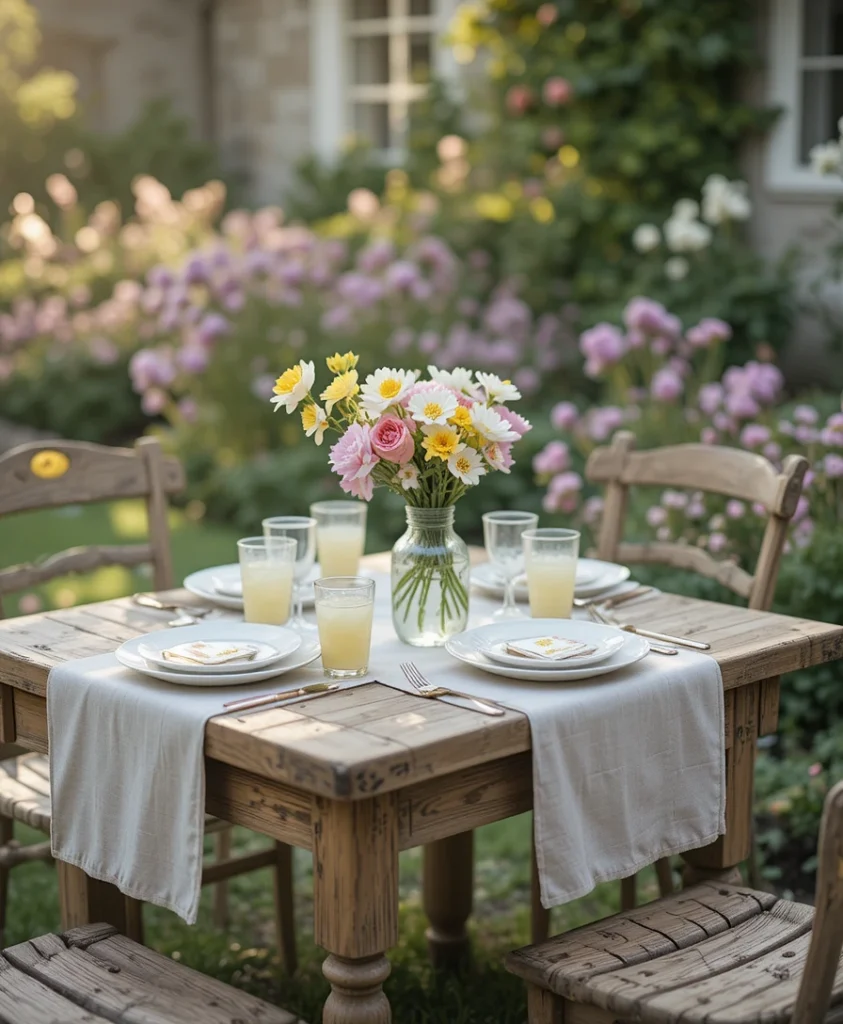
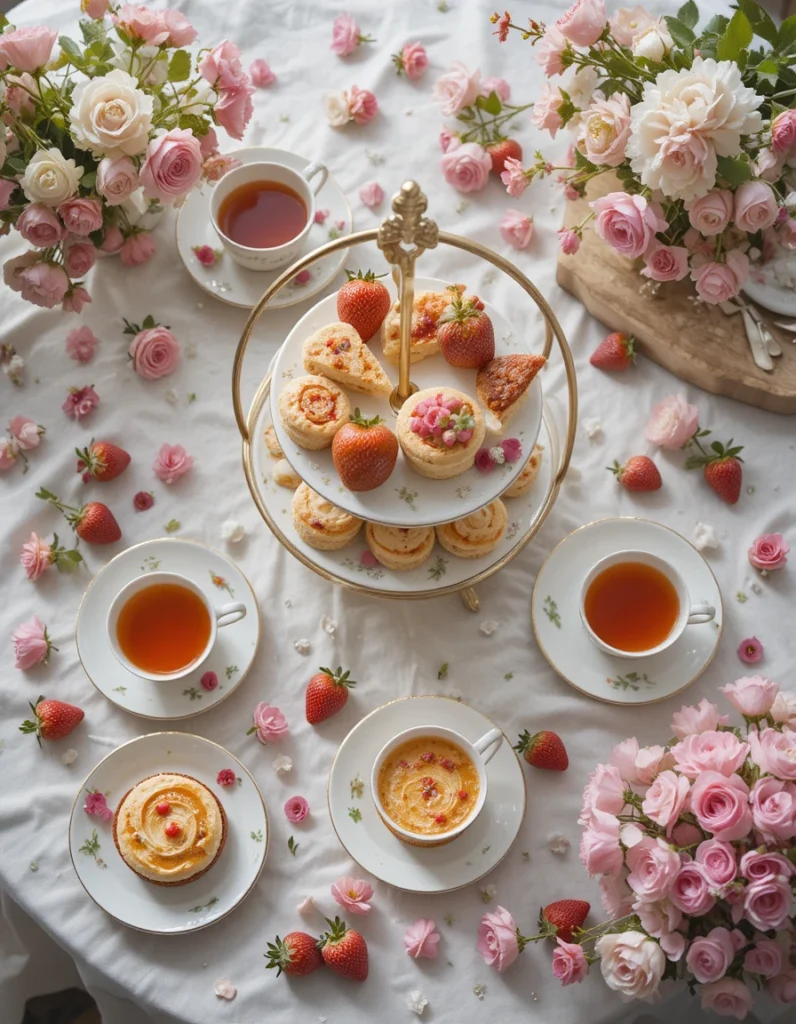
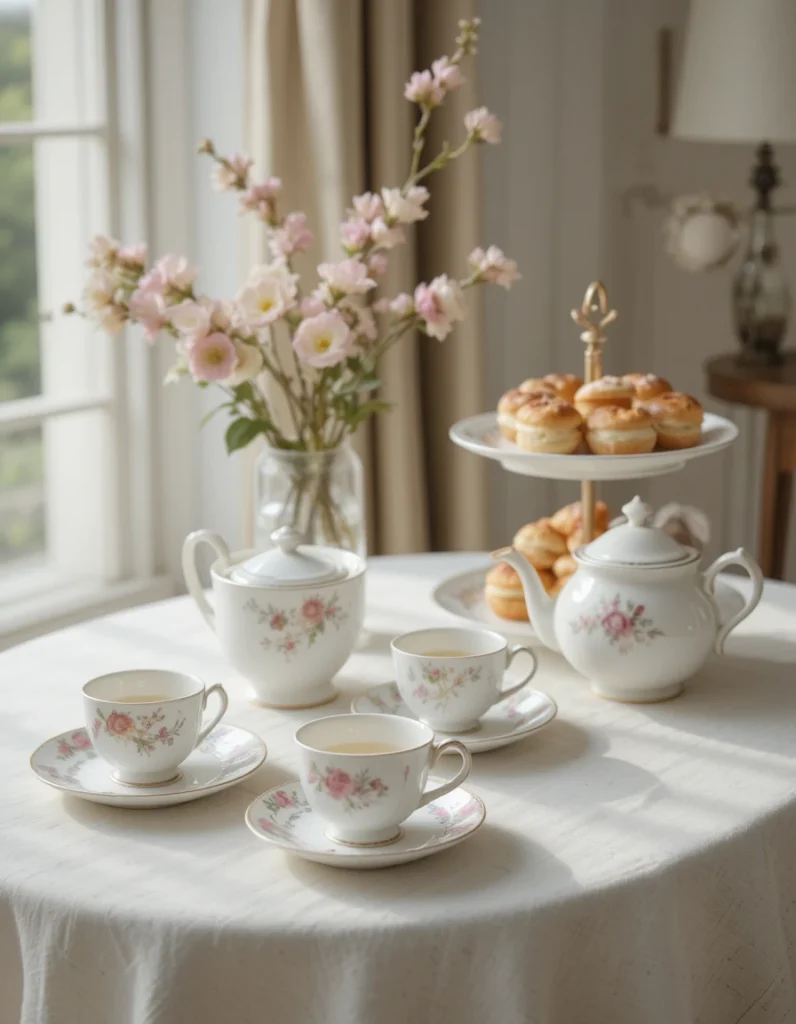
Creating a Beautiful Spring Table
Part of the charm of afternoon tea is the atmosphere. A few small details can make the experience feel special without requiring elaborate preparation.
Consider including:
- A linen tablecloth or soft napkins
- Fresh spring flowers in a small vase
- Simple ceramic plates
- A tiered cake stand
- A teapot and matching cups
Natural light and soft colours help create the relaxed elegance that suits the season.
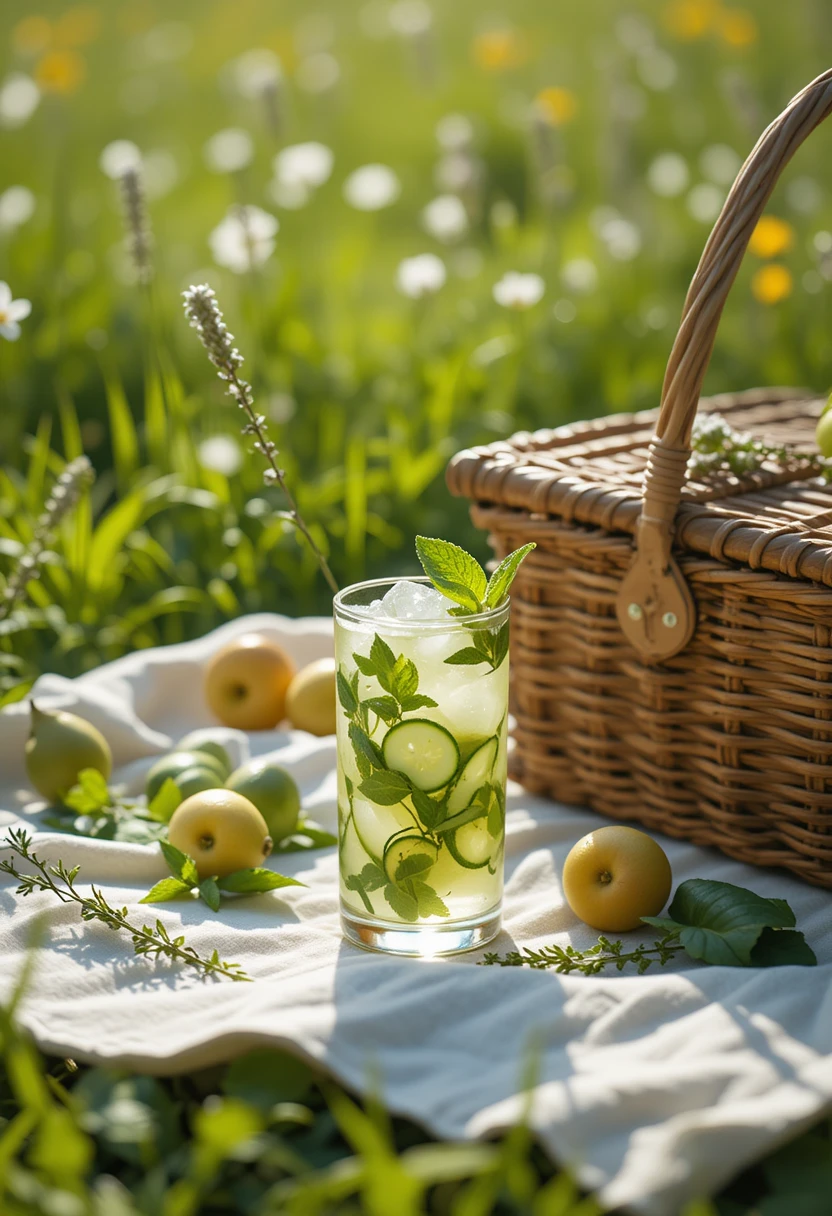
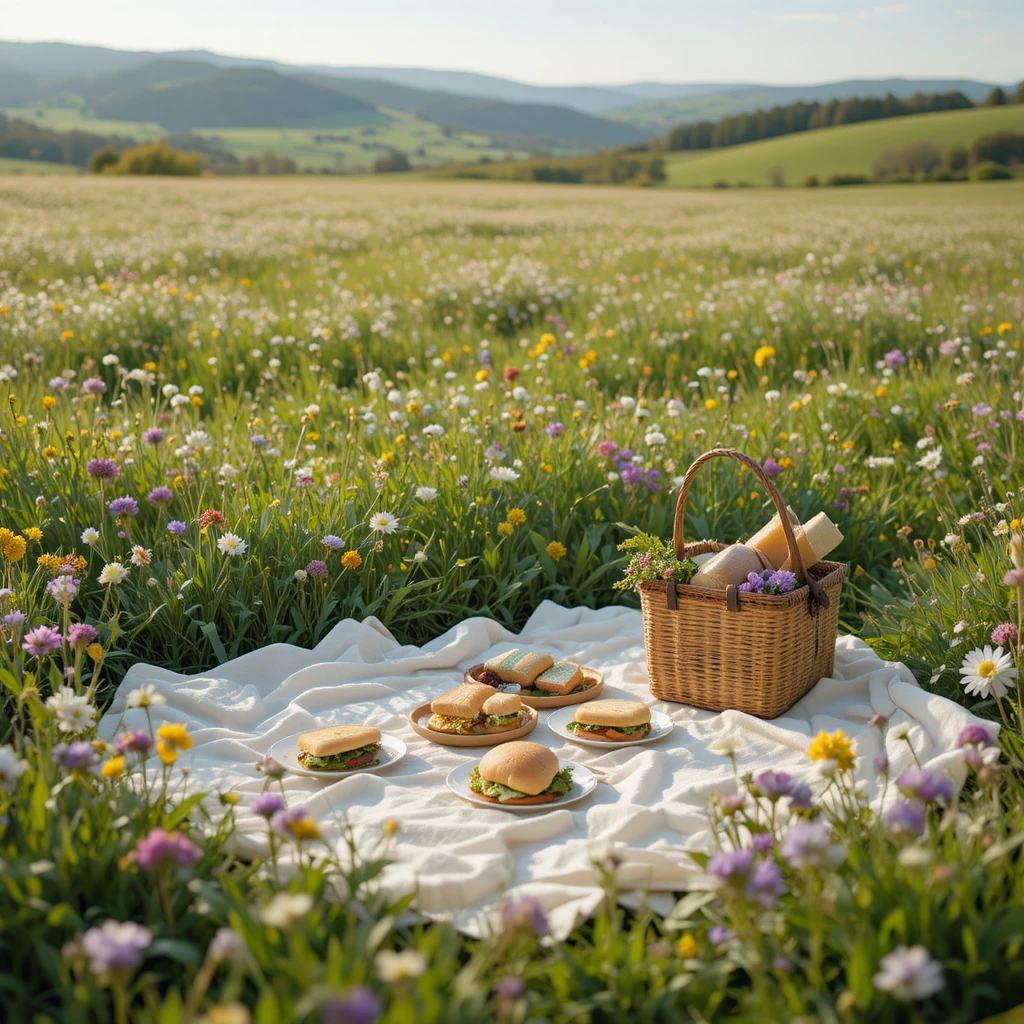
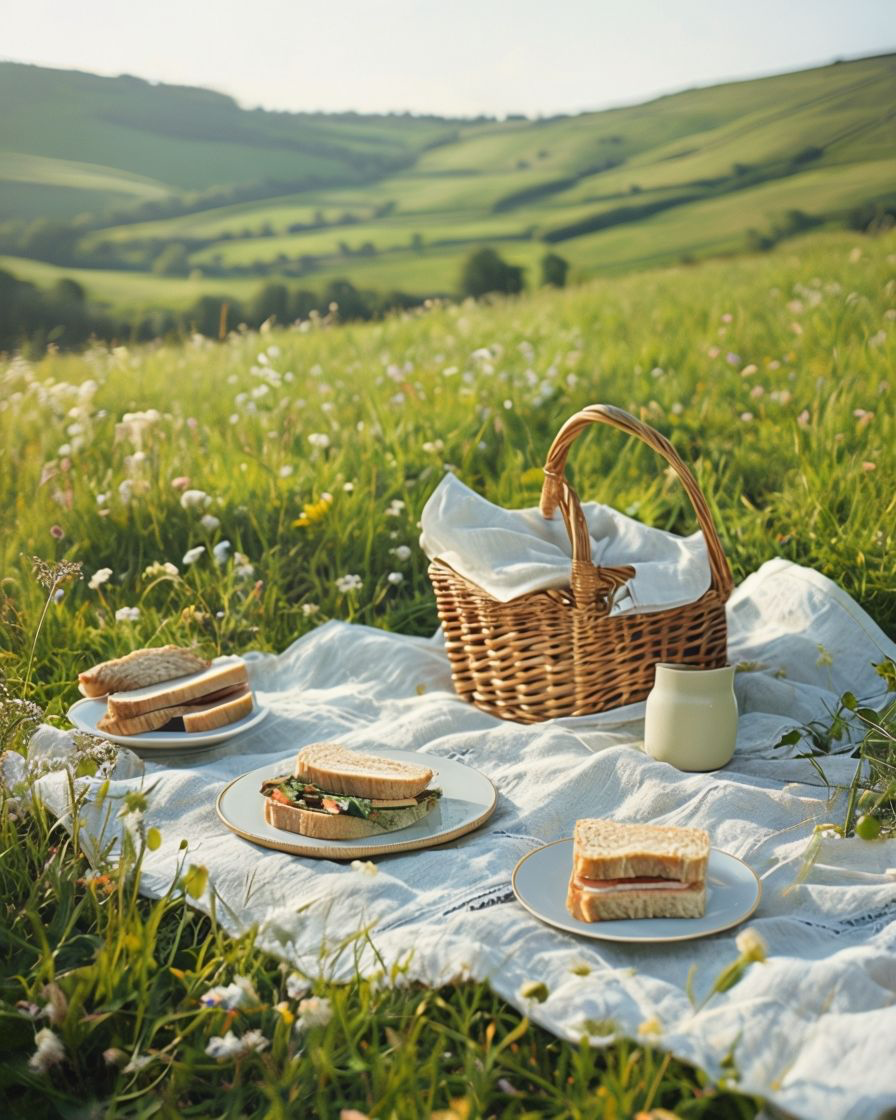
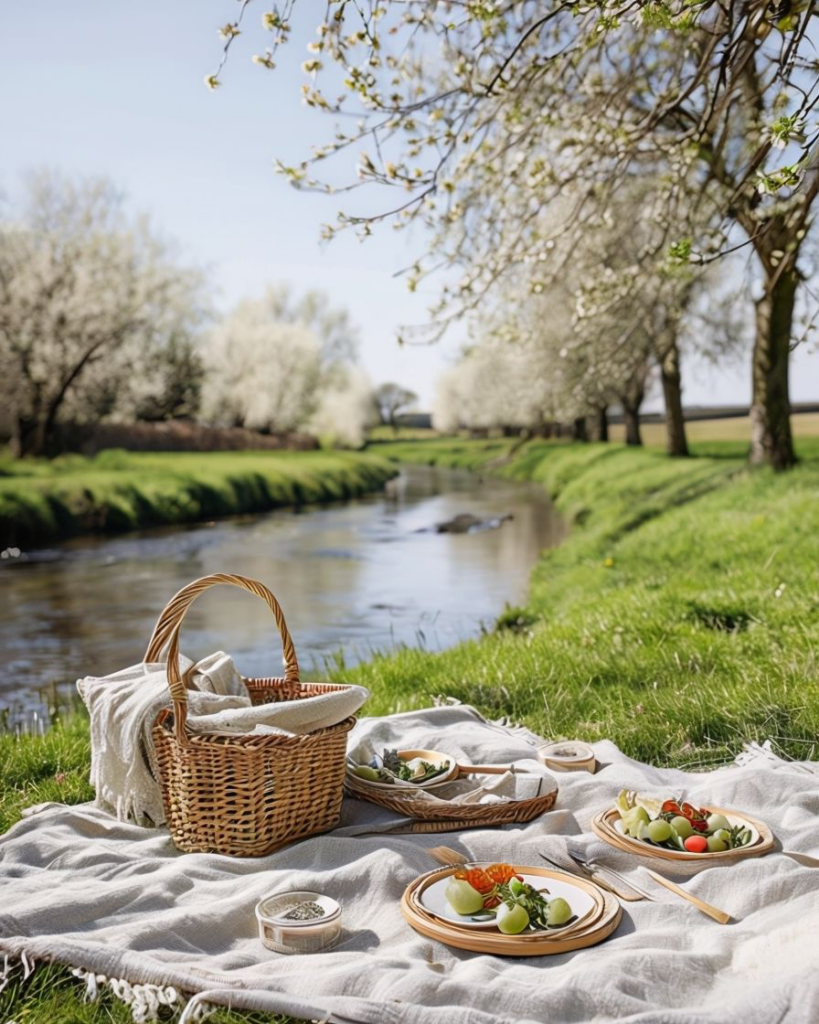
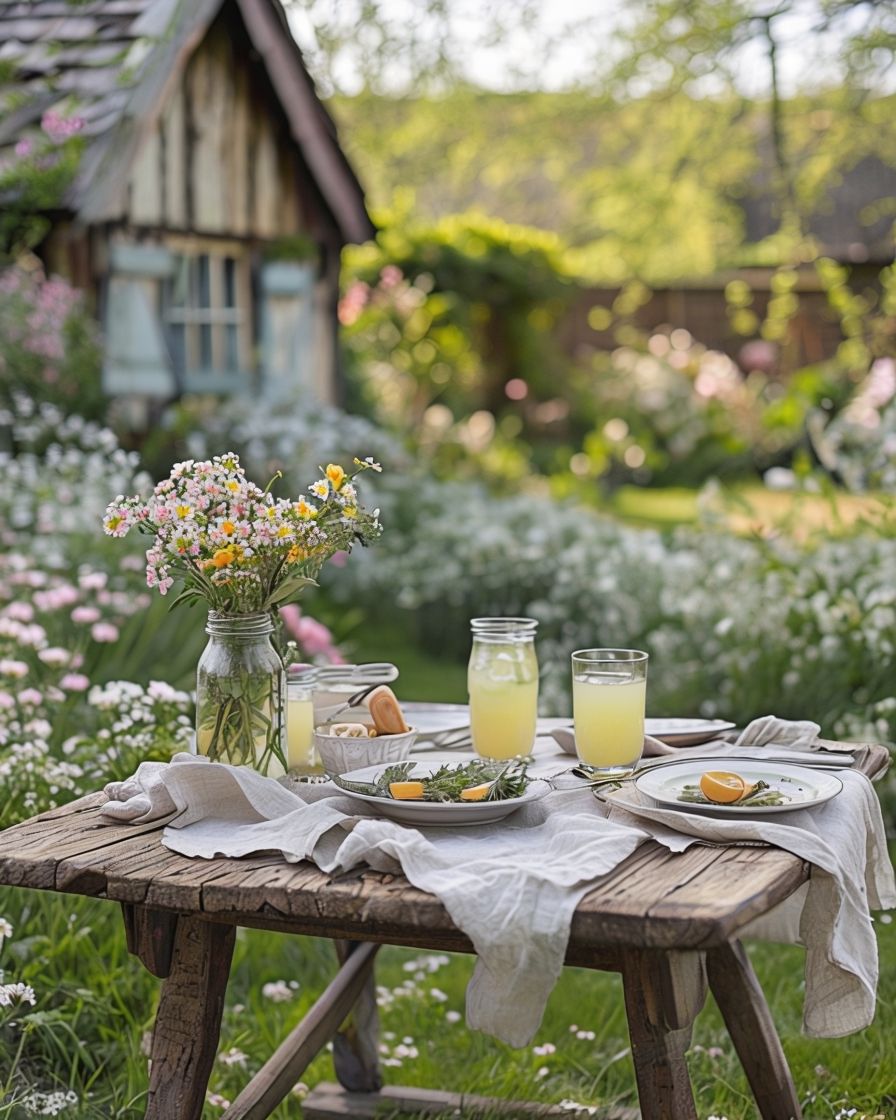
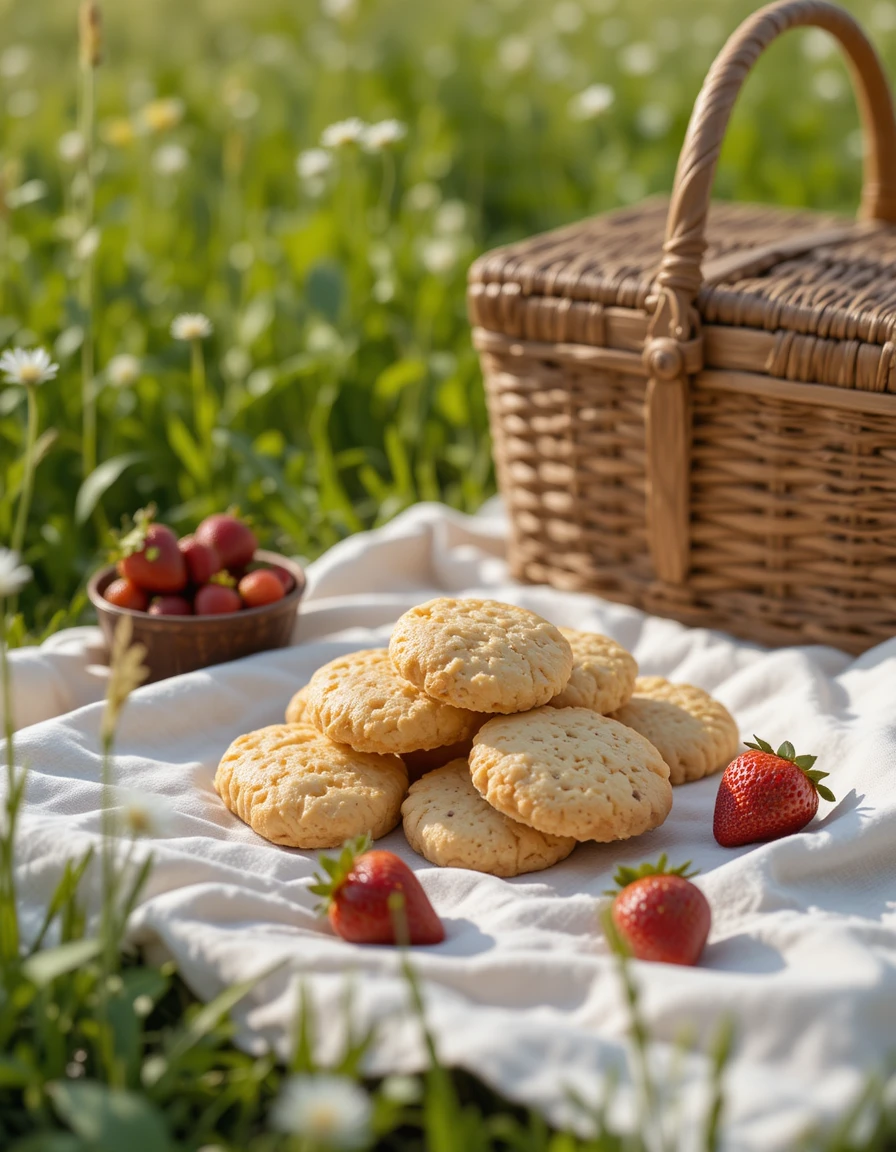
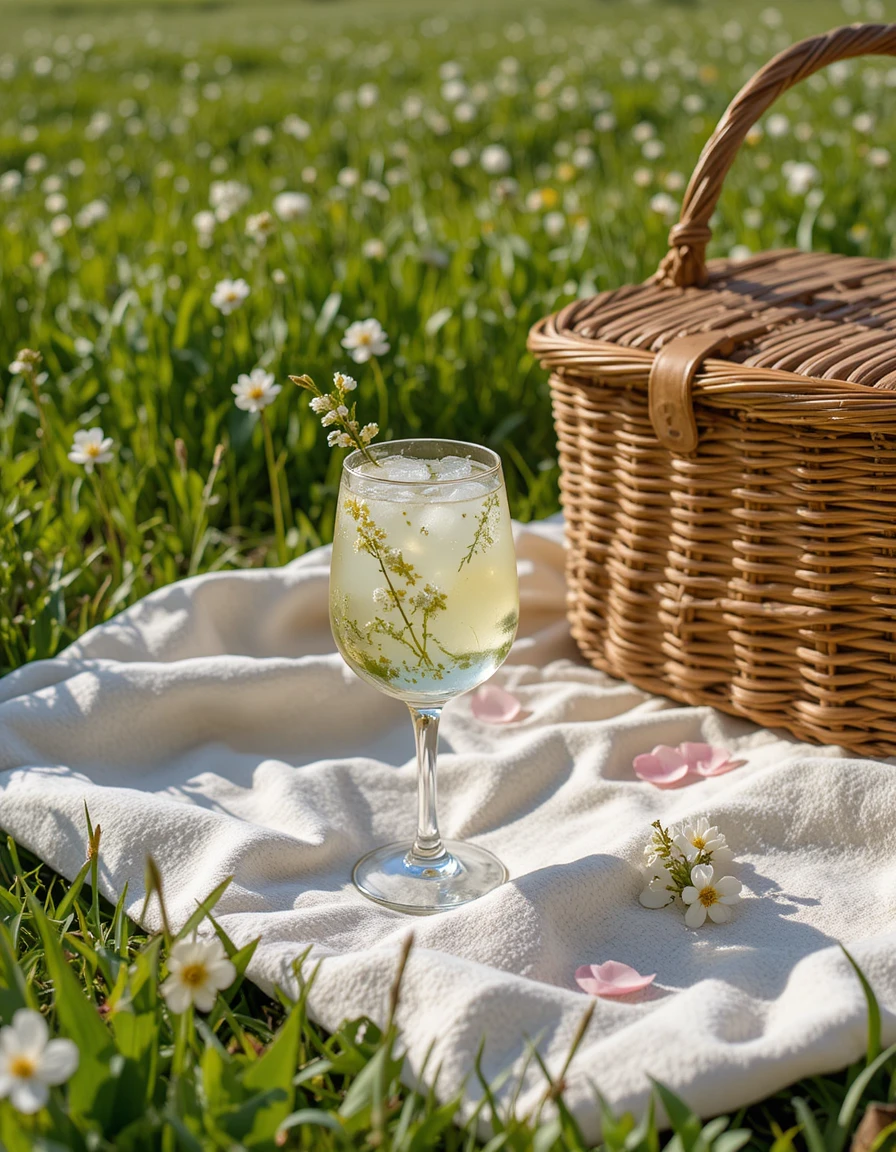
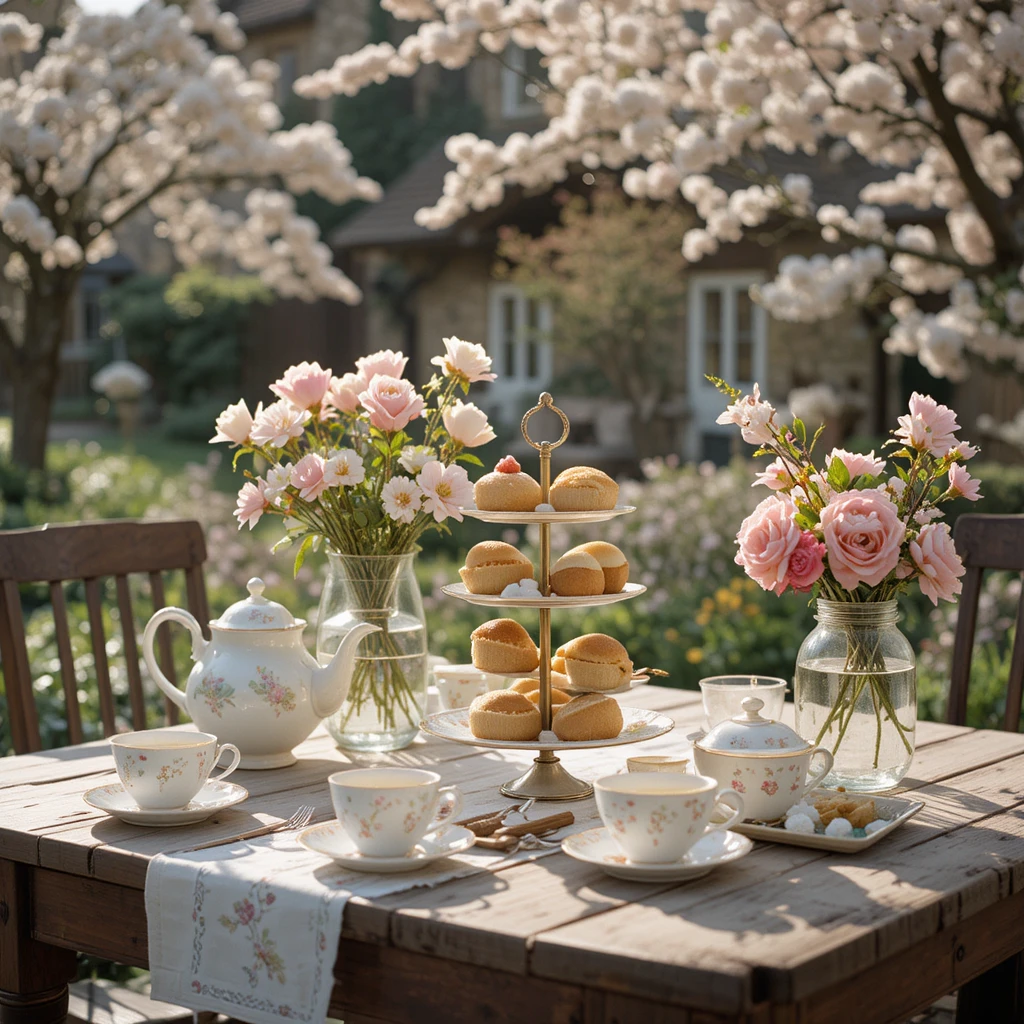
Enjoying Afternoon Tea Outdoors
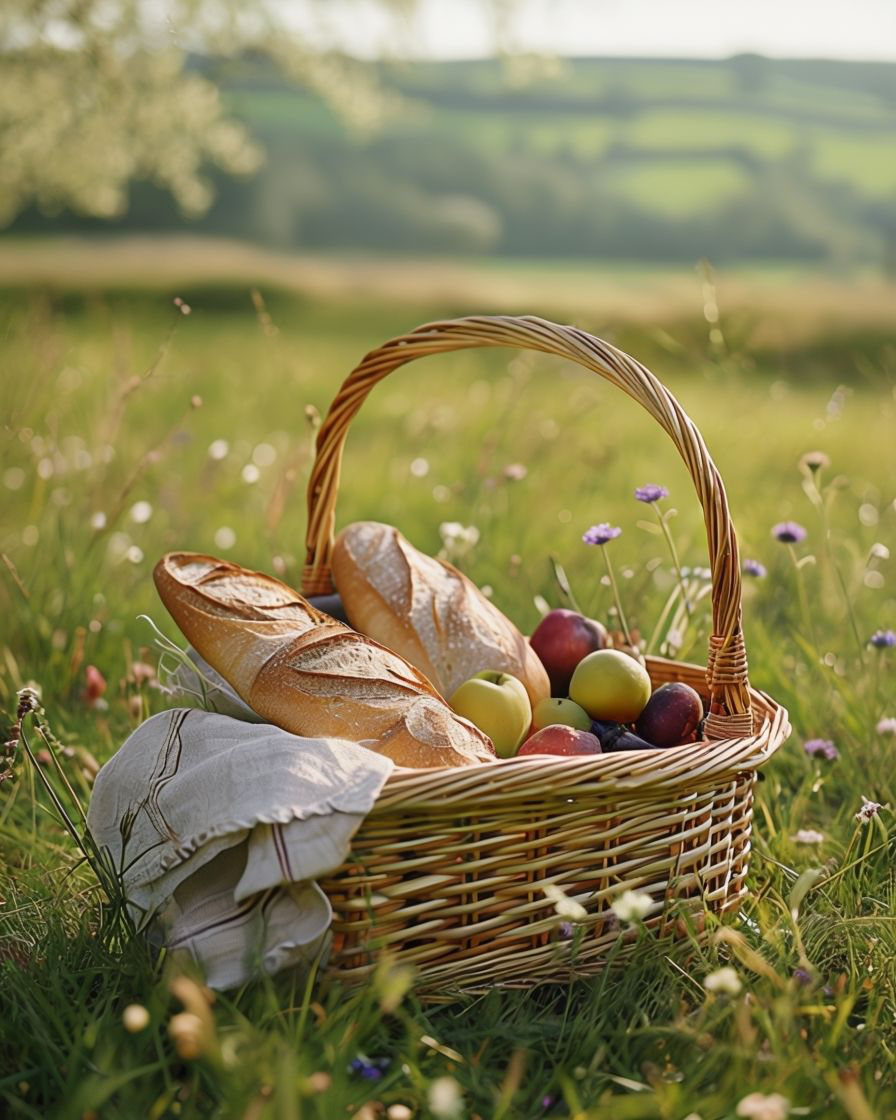
If the weather allows, spring afternoon tea can be even more enjoyable outdoors. A garden table, a blanket in the park, or a quiet countryside spot can transform tea into a memorable experience.
Outdoor afternoon tea pairs beautifully with:
- Fresh air
- Blossom-filled trees
- Gentle conversation
- Slow afternoons
It turns an ordinary meal into a small seasonal tradition.
Final Thoughts
Afternoon tea is more than a meal.
It is a moment of calm in the middle of the day – a chance to pause, enjoy good food, and spend time with others. In a busy world, these quiet rituals feel increasingly valuable.
Spring encourages us to notice simple pleasures: warm sunlight, fresh flowers, and shared moments around a table.
An afternoon tea, prepared with care and enjoyed slowly, captures all of that.
And sometimes, that gentle pause is exactly what the season calls for.