As spring begins to lean towards summer, desserts become lighter.
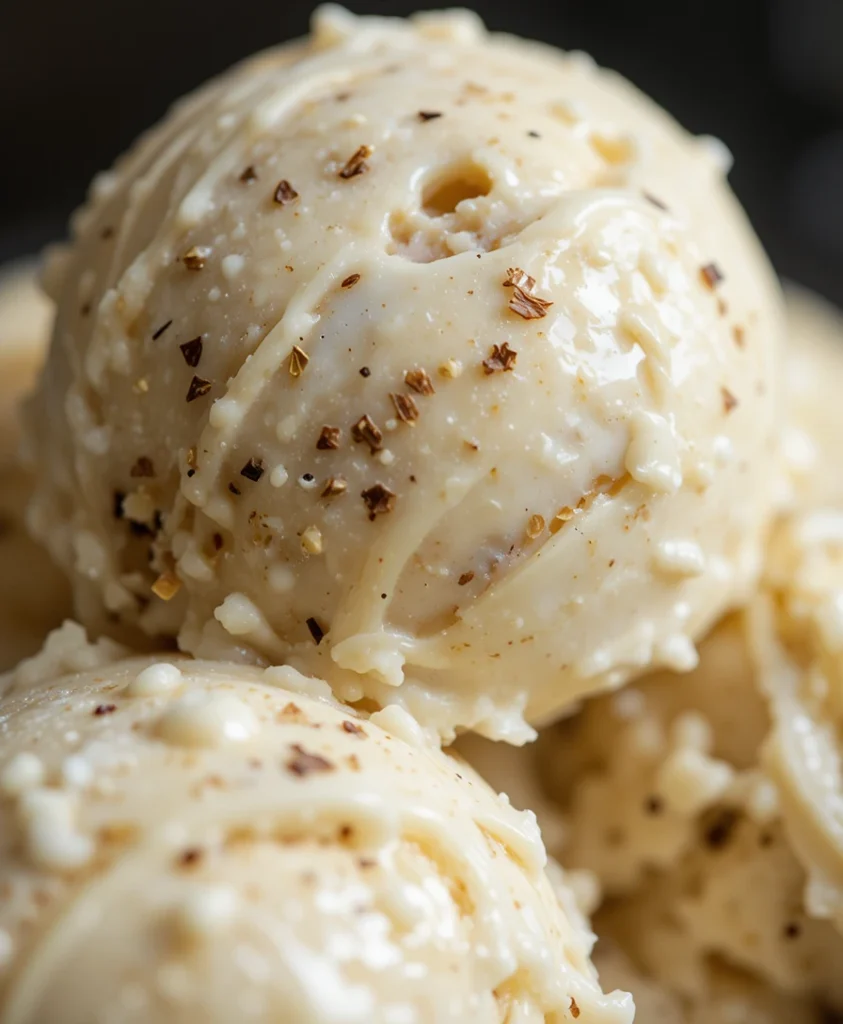
We move away from warm crumbles and baked puddings and start craving something cool, delicate, and quietly indulgent. Homemade vanilla ice cream feels like the perfect bridge between the seasons – simple, creamy, and endlessly adaptable.
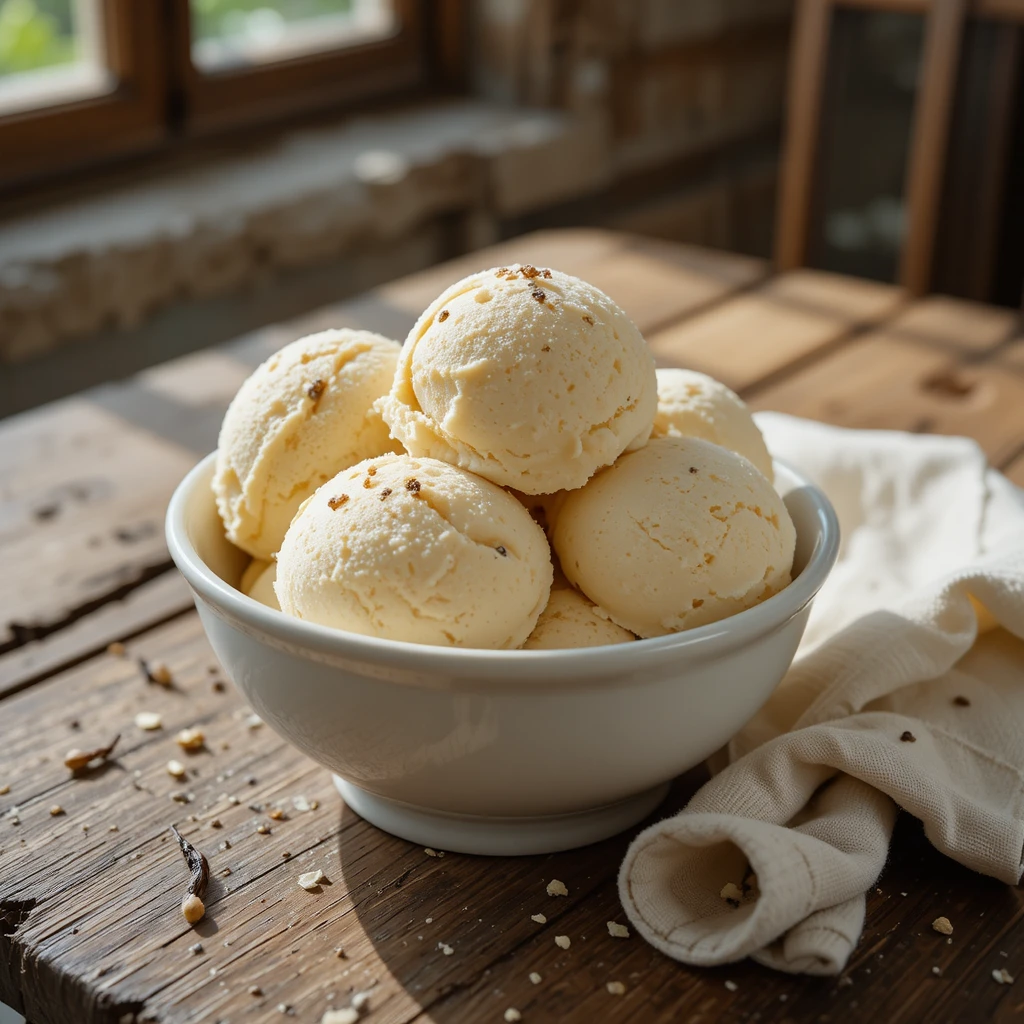
There is something nostalgic about making ice cream from scratch. The slow whisking, the gentle heating of cream, the scent of vanilla drifting through the kitchen. It feels thoughtful. Intentional.
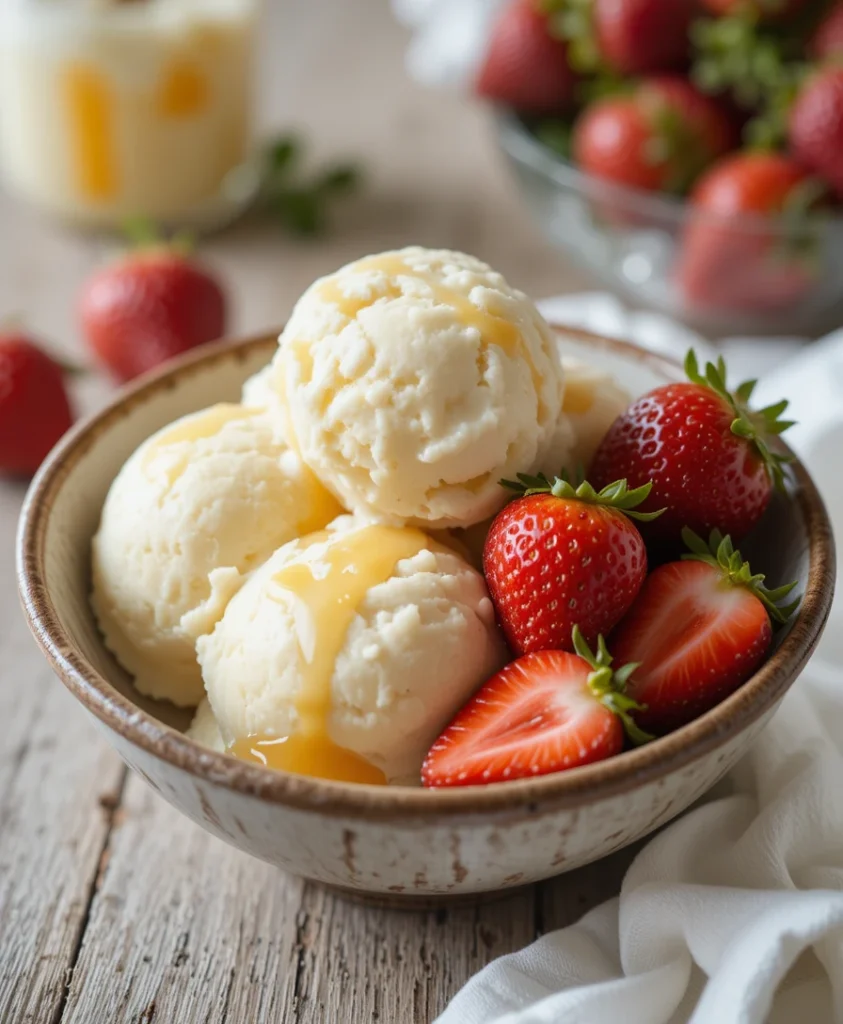
Served with fresh berries or spooned beside warm spring bakes, vanilla ice cream becomes more than just dessert – it becomes a small celebration of the season.
Why Vanilla Works So Beautifully in Spring
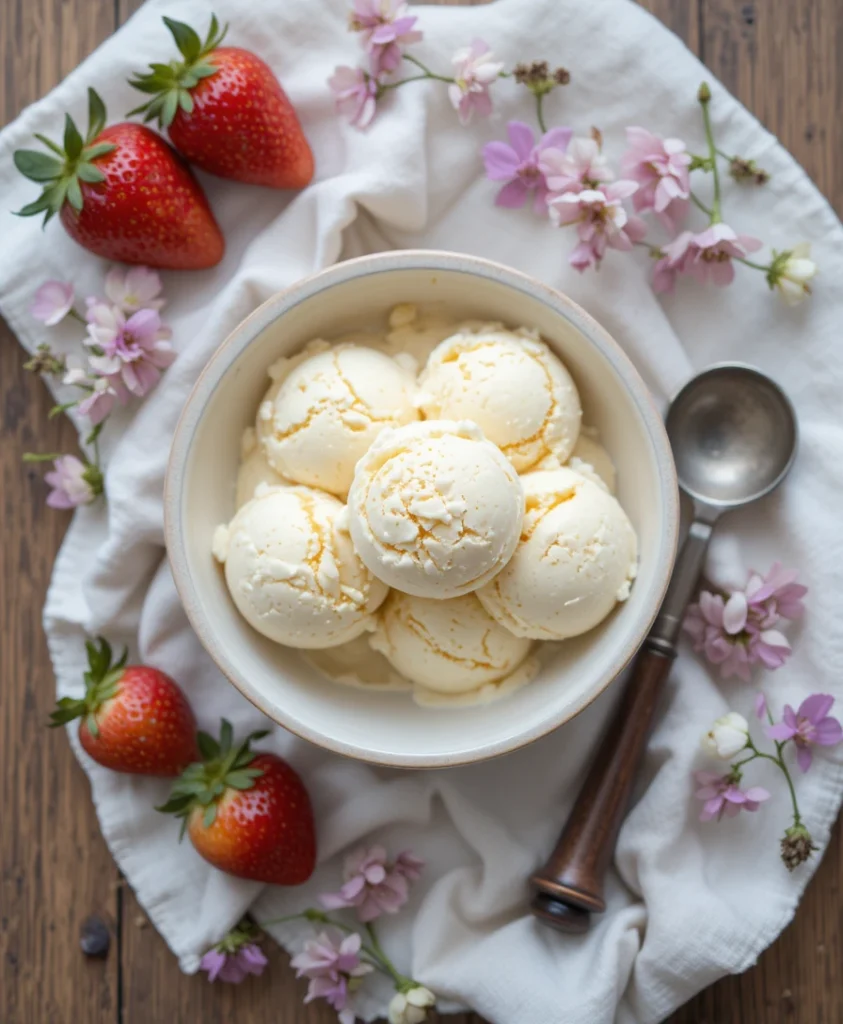
Vanilla is soft and floral rather than heavy. It pairs effortlessly with:
- Fresh strawberries
- Poached rhubarb
- Lemon cake
- Shortbread
- Spring tarts
- Honey and edible flowers
Its simplicity allows seasonal ingredients to shine, which makes it perfect for spring entertaining or gentle weekend treats. Light. Elegant. Comforting without being rich.
Homemade Vanilla Ice Cream Recipe (serves: 6)
Prep time: 15 minutes
Chilling & freezing time: 4–6 hours
Ingredients
- 500ml double cream
- 250ml whole milk
- 4 large egg yolks
- 120g caster sugar
- 1 vanilla pod (or 2 teaspoons pure vanilla extract)
- Pinch of sea salt
Recipe
Step 1: Infuse the cream
In a saucepan, gently heat the cream and milk over medium-low heat.
If using a vanilla pod, split it lengthways, scrape out the seeds, and add both seeds and pod to the pan.
Heat until just steaming – do not boil. Remove from heat and allow to infuse for 10 minutes.
Step 2: Whisk the egg mixture
In a separate bowl, whisk together egg yolks and caster sugar until pale and slightly thickened.
Step 3: Temper gently
Remove the vanilla pod from the cream mixture (if using). Slowly pour the warm cream into the egg mixture, whisking constantly.
Step 4: Thicken the custard
Return the mixture to the saucepan and cook over low heat, stirring gently with a wooden spoon. Cook until the custard thickens enough to coat the back of the spoon. Do not allow it to boil.
Step 5: Chill thoroughly
Pour into a bowl, cover, and refrigerate for at least 2 hours (preferably longer).
Step 6: Churn or freeze
If using an ice cream maker, churn according to instructions. If not, pour into a freezer-safe container and freeze, stirring every 30–45 minutes for 3–4 hours to break up ice crystals. Once frozen, allow to soften slightly before serving.
How to Serve Homemade Vanilla Ice Cream
In spring, keep it simple and seasonal.
Serve with:
- Fresh strawberries or raspberries
- Poached rhubarb
- Warm lemon drizzle cake
- Shortbread biscuits
- Honey and crushed pistachios
- A scattering of edible flowers
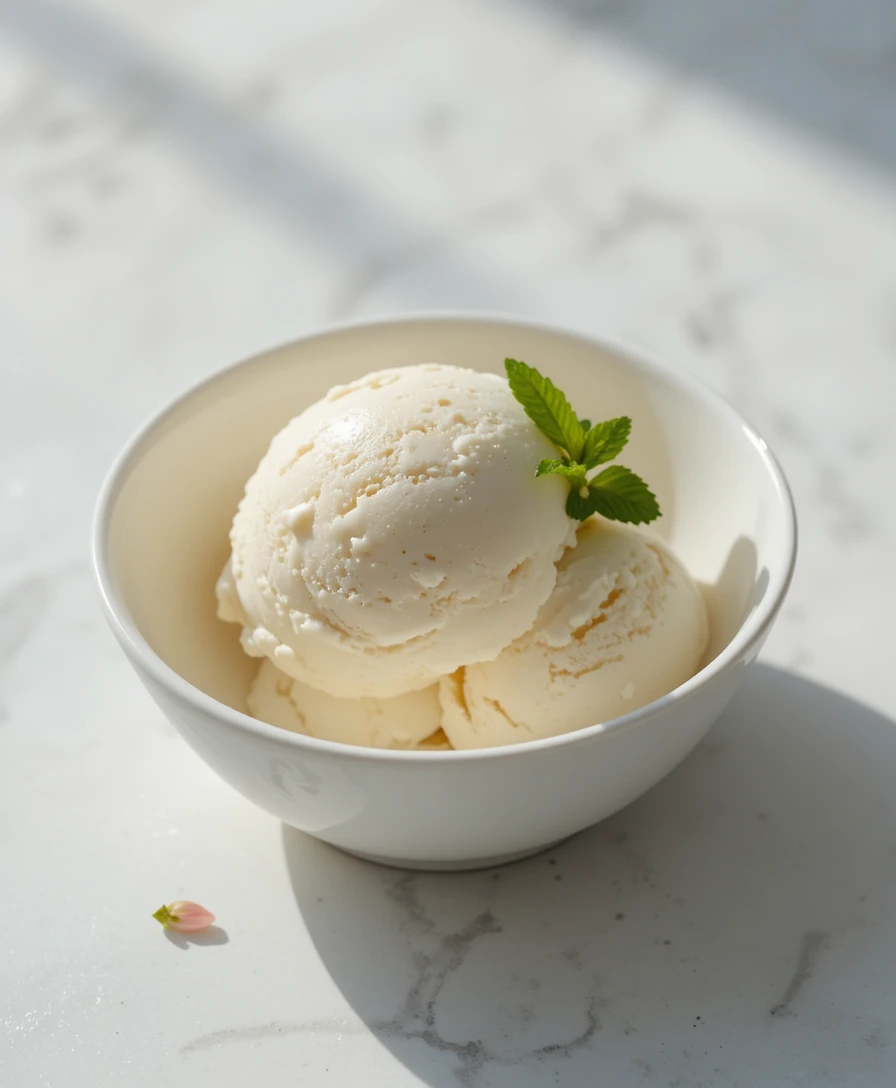
For a soft countryside aesthetic, scoop into small white bowls and top with a few fresh berries and a sprig of mint.
Perfect for:
- Garden lunches
- Easter dessert tables
- Afternoon tea
- Quiet Sunday evenings
- Soft spring gatherings
How to Use Leftovers
Homemade ice cream keeps well in the freezer for up to 2 weeks.
You can also:
- Create Ice Cream Sandwiches
- Add to Spring Bakes
- Affogato Style
- Brunch Addition
Gentle Variations
To keep this aligned with the season, you could:
- Add lemon zest for brightness
- Fold through crushed strawberries
- Infuse with lavender (very lightly)
- Add honey instead of some sugar
- Swirl through a ripple of rhubarb compote
Spring desserts are about balance – light sweetness, soft texture, fresh flavours.
Final Thoughts
There is something deeply comforting about a bowl of homemade ice cream. It asks you to slow down. To wait while it churns. To anticipate. Spring often feels like that too – a quiet build towards warmth and abundance.
Homemade vanilla ice cream captures that feeling perfectly. Gentle. Simple. Thoughtful. A dessert that doesn’t overwhelm, but softly delights. And sometimes, that is exactly what the season calls for.
Leave a Reply